

This homemade Italian pasta recipe is the authentic recipe for pasta all'uovo (pasta with egg) made with semolina flour, the dough for classic fresh homemade tagliatelle, fettuccine, spaghetti, lasagne, tortellini, and ravioli. Once you master it, it is a fun recipe to make with children and serve with your favorite sauce.

Jump to:
While it is believed that pasta was introduced in Italy by Marco Polo in the 13th century back from his trip to Asia, pasta was already made in Italy way before.
There were traces of pasta in the Etruscan tombs in the 4th century BC, and recipes were found in the famous cooking book from the Roman Empire "Res Culinaria" by Apicio.
In addition, the Chinese noddle and the Italian pasta are not very similar.
In China, pasta is made with rice flour, while Italian pasta is made with durum wheat semolina.
Their consistency, taste, and cooking methods are very different.
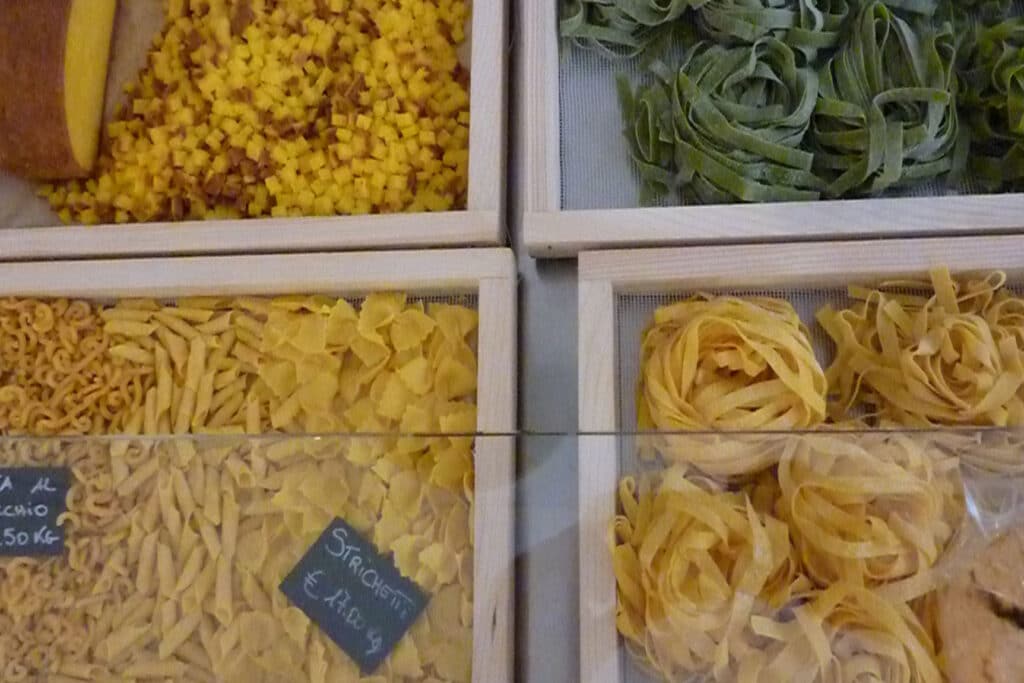
Pasta from Emilia-Romagna
Italian pasta varies widely by region. Each area has its own unique traditions, techniques, shapes, and styles.
This particular recipe focuses on Pasta Emiliana, the classic pasta all'uovo (egg pasta) used to make tagliatelle, fettuccine, and lasagne, originating in the Emilia-Romagna region of Italy.
This is the pasta I made growing up in Italy, following the techniques my mother refined during her Cordon Bleu cooking courses in Rome in the 70s. Ever since we kept practicing and perfecting it every Sunday as a family.
Emilia-Romagna is more than just the origin of this pasta style; it's also where the key ingredient - durum wheat semolina flour - is grown.
The fertile fields of the Po Valley in this region provide the ideal conditions for cultivating this high-quality grain, which gives Pasta Emiliana its characteristic texture and flavor.
Using this pasta all'uovo dough as a foundation, various towns within Emilia-Romagna have developed their own pasta specialties.
From the layered richness of lasagna to the delicate strands of tagliatelle, and the filled delights of tortellini and ravioli, this region showcases the versatility of this classic dough.
You can read more in the article: Italian food by Regions
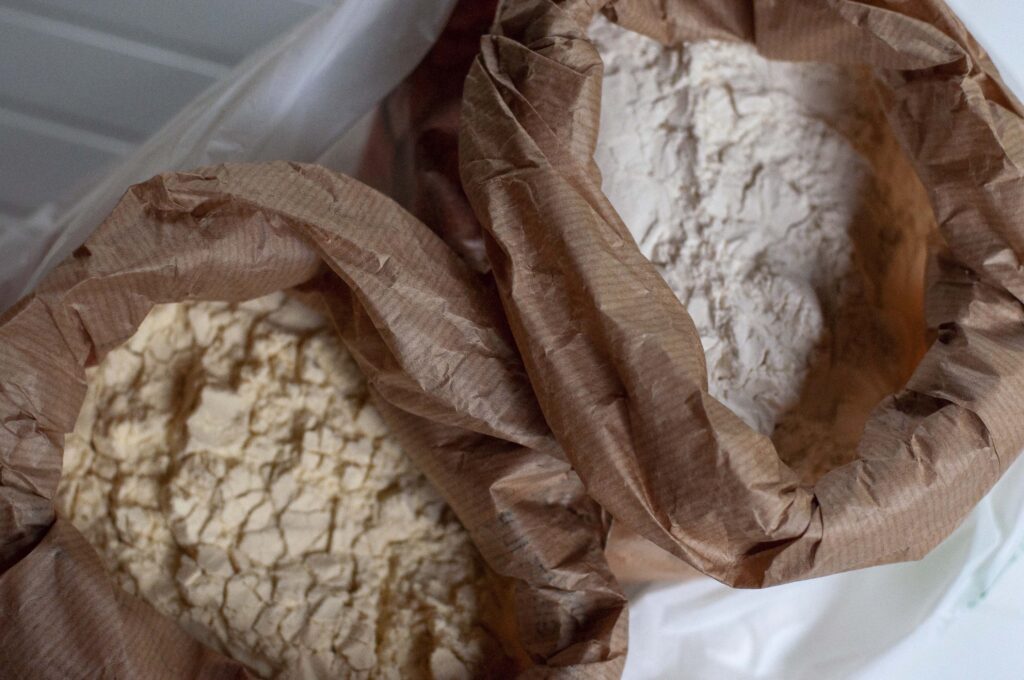
What flour to use
The traditional Pasta all'uovo Emiliana is made with durum wheat semolina flour. Making it with regular flour will not give the same results.
Regular flour will make the pasta too tough and not result in the right consistency.
You can buy the Semolina flour in this Amazon affiliate link.
If you cannot find the Semolina flour, you can try using the same flour you would use for bread.
Ingredients
The choice and the measurements of the ingredients are very important.
- For each person, you would need 100 gr (3.5 oz) of semolina flour and for each 100 gr ( 3.5 oz) of semolina flour, you need 1 egg.
- 100 gr (3.5 oz) of semolina flour is about 0.6 Cups, so slightly more than half a cup.
- For every three large eggs, you would need to add 2 teaspoon of olive oil and a pinch of salt.
NB: it is important to use fresh eggs. I have my own chickens and plenty of eggs to use.

- American flour may also need 1 tablespoon of water. Add it if the dough crumbles.
- The dough should be elastic and not stick to the fingers; otherwise, it will not pass smoothly between the pasta rolls.
- Make sure you have a large clean work surface to lay the sheets on once they are rolled. They take up a lot of space.
- You will also need some regular all purpose flour to dust the surface where you lay the pasta sheets, so they don't stick to each other.

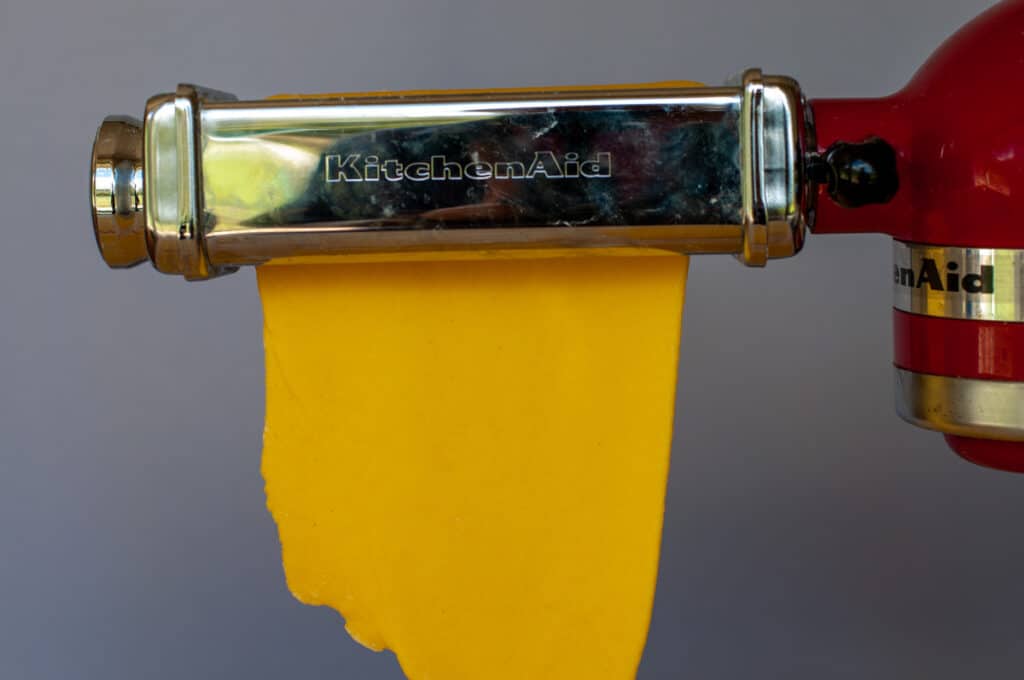
Making pasta with KitchenAid mixer
Making pasta with a rolling pin is not difficult, but it is long and time-consuming. So buying a pasta machine is worth it if you make homemade pasta regularly.
The dough must be mixed for a long time to achieve smooth and elastic consistency. It is so much easier to use an electric mixer.
I use the KitchenAid stand mixer as it also has the pasta sheet roller to shape the pasta. For me, it was worth the investment as I make homemade pasta quite often. (Amazon affiliate links).
I also use the vegetable strainer Kitchenaid attachment to make my fresh tomato sauce and potato gnocchi.
Although KitchenAid is expensive and not for everyone. If you don't want to spend as much, you can use your electric mixer to make the dough and invest in a regular Pasta Machine to roll the pasta.
N.B.: Kitchenaid pasta attachments and pasta machine should not be washed with water otherwise, the rolls will rust. Use a brush to brush off the remaining flour.
If the rolls still look dirty, pass a small amount of dough to remove the dirt and throw it away.
Instructions
Making the fresh pasta dough
In this recipe, I am using 500 gr (1 lb - 3 cups) of Semolina flour, five eggs, and 1 tablespoon of olive oil:
- Put the eggs, the semolina flour, and the olive oil into the KitchenAid mixing bowl.

- Attach the dough hook to your KitchenAid mixer. Start mixing on low speed (speed 1 or 2) to combine the ingredients and form a shaggy dough. This will take about 1-2 minutes.
- Increase the speed to medium-low (speed 3 or 4). Continue kneading with the dough hook for 8-10 minutes. This is where the gluten develops, creating the smooth and elastic texture we need.
- What to Look For: The dough should start to pull away from the sides of the bowl and form a relatively smooth ball. It might still be slightly sticky at first, but it should become less so as you continue to knead.
- "Fold and Turn" Action (Even with the Mixer): While the KitchenAid does most of the work, the dough hook's action mimics the "fold and turn" method of hand kneading. It stretches and folds the dough, developing the gluten strands.
- If Too Dry: If the dough seems very dry and crumbly and isn't coming together, add one teaspoon of water at a time, allowing it to incorporate fully before adding more. Be very cautious with adding water; too much will make the dough sticky.
- If Too Wet: If the dough is excessively sticky and clinging to the sides of the bowl, add a tablespoon of semolina flour at a time, allowing it to incorporate fully.

- The "Windowpane Test" (Optional, but Recommended): After 8-10 minutes of kneading, you can perform the "windowpane test" to check for proper gluten development.
- How to Do It: Pinch off a small piece of dough. Gently stretch it between your fingers. If the dough can be stretched thin enough to become translucent (like a windowpane) without tearing, it's ready. If it tears easily, continue kneading for another 2-3 minutes and test again.
Troubleshooting kneating process
- Sticky Dough (Too much liquid/not enough flour): Lightly flour dough and work surface.
- Dry, Crumbly Dough (Not enough liquid): Add water, one teaspoon at a time, kneading well.

- Once the dough is smooth, elastic, and passes the windowpane test, remove it from the bowl. Wrap the dough ball tightly in plastic wrap and let it rest at room temperature for at least 30 minutes. This allows the gluten to relax, making the dough easier to roll out.

- On a large, well-floured surface, cut the rested dough into six pieces.
Hint: To flour the surface, you can use all-purpose flour.

Making the pasta sheets

- Take one piece of the rested dough (keeping the remaining pieces covered to prevent drying). Flatten it slightly with your hands or a rolling pin into a rough oval shape that's narrower than the width of your pasta machine's rollers.

- Set your pasta machine to its widest setting (usually number 1). If using the KitchenAid attachment, keep the mixer speed low (I use speed 2). Pass the flattened dough through the rollers.


- Fold the sheet of pasta in thirds, like a letter. This helps to create a more even and rectangular shape, and it further develops the gluten, resulting in a smoother texture.

- Pass the folded dough through the rollers again at the same widest setting.
- Repeat this folding and rolling process 3-4 times, or until the dough is smooth and you hear a "bubble burst" (this indicates good gluten development).

Troubleshooting
Tearing Dough: If the dough tears while rolling,

Fold and dust the surface with additional flour, you can use all purpose flour

Roll again
- Do the same with all the pieces of dough until all the dough is shaped in thick sheets (about 3 mm - ⅛")

Decreasing Thickness:

- Now, reduce the thickness setting on your pasta machine by one notch (e.g., from 1 to 2).

- Pass the dough through the rollers without folding.

- Continue decreasing the thickness setting by one notch with each pass, rolling the dough through once at each setting.

- If the sheets get too long, cut them in two with a sharp knife ( I usually keep my sheets 20 cm - 8 in long)
Important: Do not fold the dough after the initial passes at the widest setting.

- Reduce the thickness to number 4 and pass all the sheets again

- The sheets will become very long. If you don't have enough space and you have to overlap them, flour their surface so they don't stick to each other
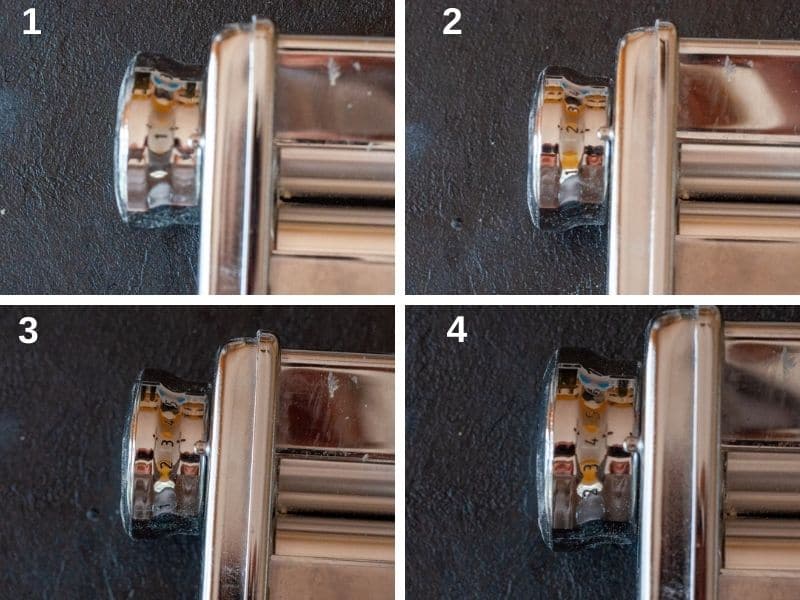
How thick should the pasta sheets
The thickness of the pasta sheets depends on their final use. On KitchenAid the settings are as follows:
- Roller Setting Number 1 and 2 to knead and shape the dough into sheets
- Roller Setting Number 3 a thicker pasta used for stew or broth
- Roller Setting Number 4 is used for lasagna, tagliatelle, fettuccine, and spaghetti
- Roller Setting Number 5 for tortellini and ravioli
Once the sheets have the thickness required, you can roll them into the final shape.
For homemade lasagna noodles, you can use the roller setting number 4
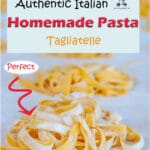
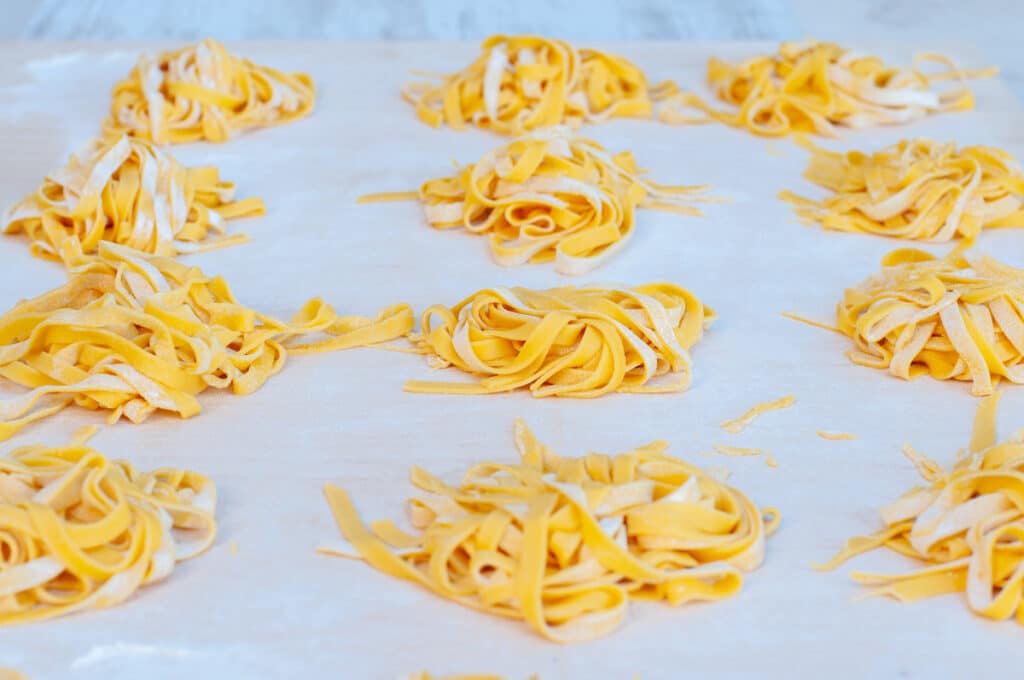
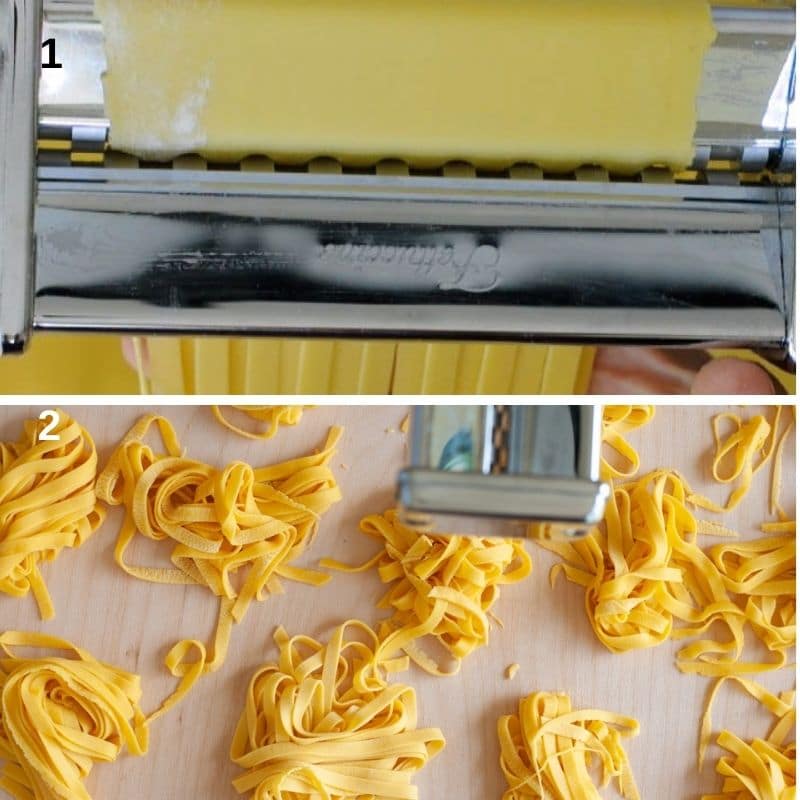
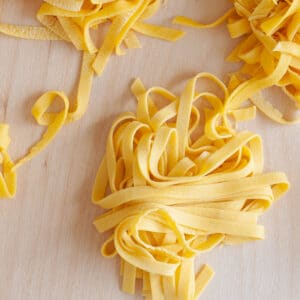
Making tagliatelle
- Insert the fettuccine attachment into the machine and pass through the sheets one at the time
- Place each batch of tagliatelle on the floured board or on pasta drying rack
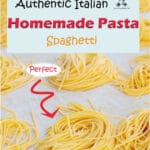
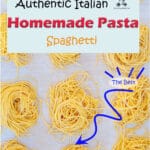
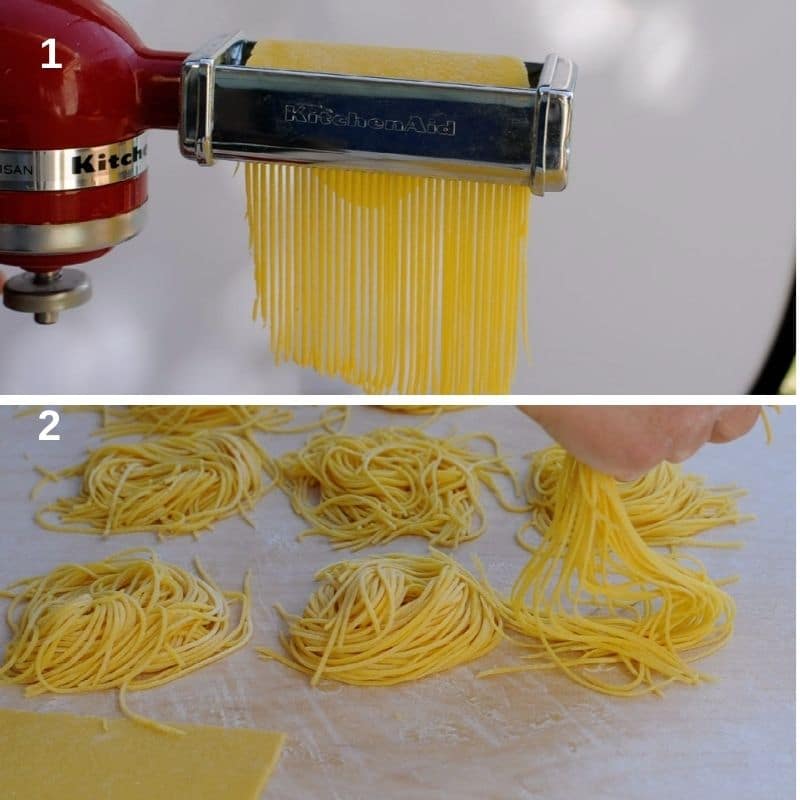
Making spaghetti
- Insert the spaghetti attachment into the machine and pass through the sheets one at the time
- Place each batch of spaghetti on the floured board or on pasta drying rack
How to store it
The pasta can either be cooked immediately or stored for later use.
- If you want to store the pasta for later use, spread them on the board
- Let them dry for a few hours covered with a cloth
- Store in an air thigh container and use within one week
- If you want to keep them for longer, you can freeze them

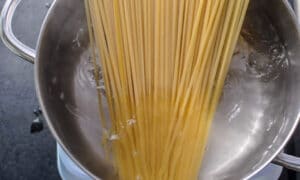
How to cook it
Homemade Italian pasta is boiled in salted water just like regular pasta.
You need to use a large pot of water,
Fresh pasta cooks faster than dried pasta, but it only requires 4 minutes of the rolling boil to cook al dente.
If you are not familiar with how Italian cook pasta, here are the main rules we follow: How To Cook Pasta Like An Italian

Sauces for fresh pasta
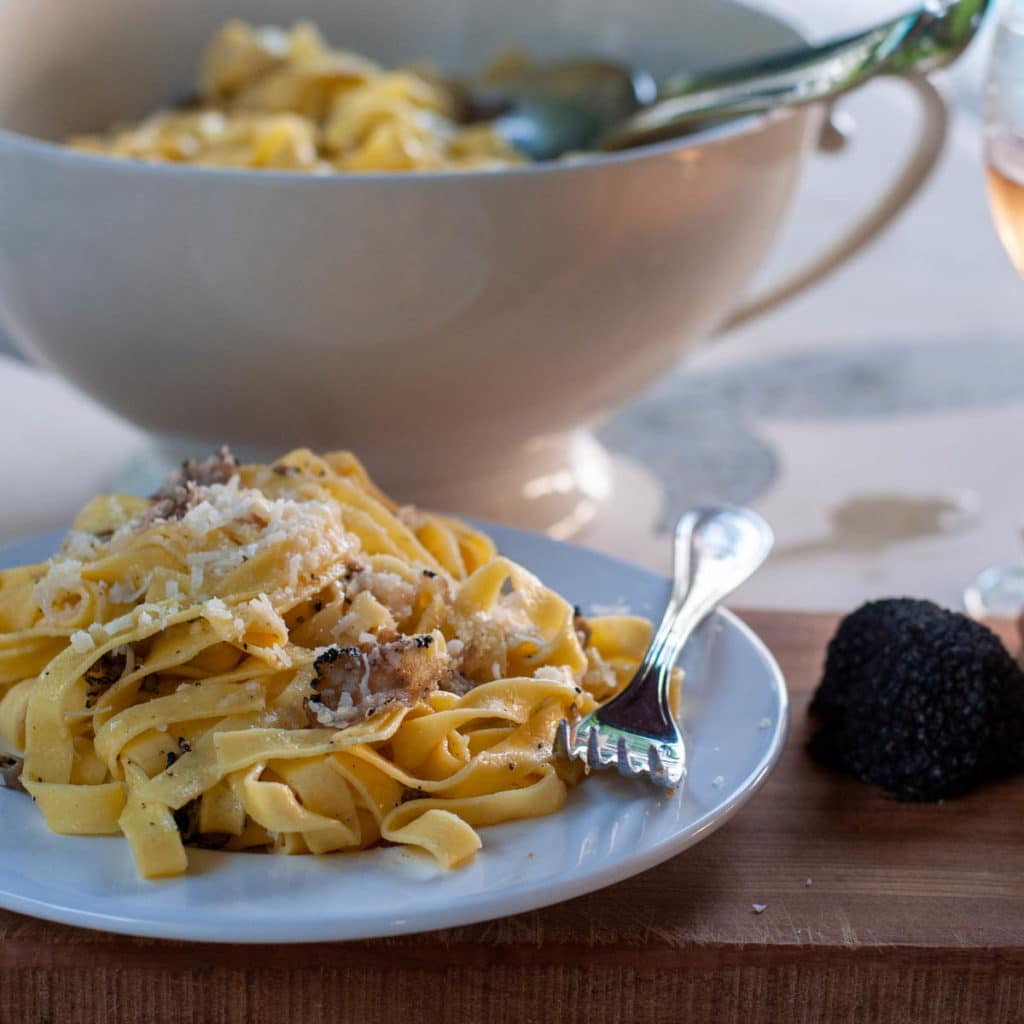
Homemade Italian pasta all'uovo is usually served with a meat sauce like ragu (lamb ragu) or Bolognese. Here in Provence, they serve it with Daube Provencal.
Fresh pasta all'uovo has a rich taste, so it can also be seasoned with a simple tomato sauce, butter, or fresh truffle.
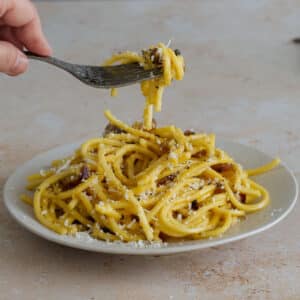
Once served, let your guests top it with some freshly grated Parmesan.
Once you make this homemade Italian pasta recipe a couple of times, it will become easier and easier to make.
It is so easy that once you mastered it, I encourage you to make it with your young children.
They will love seeing the tagliatelle coming out of the rolls and touching them with their little fingers.
Other recipes you may like
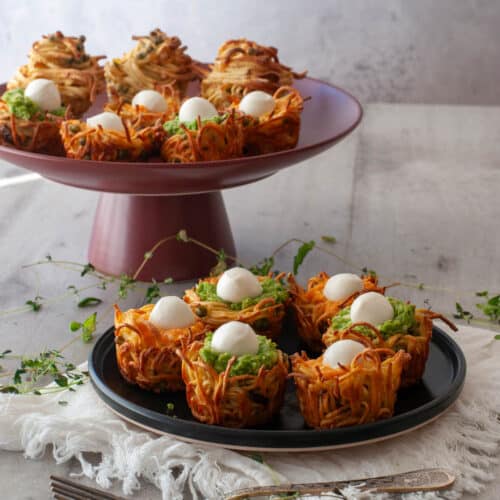

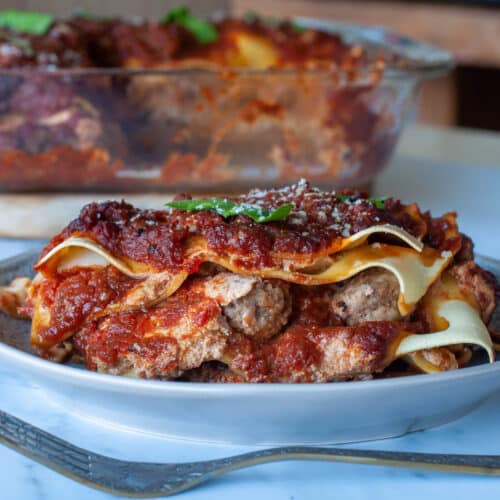

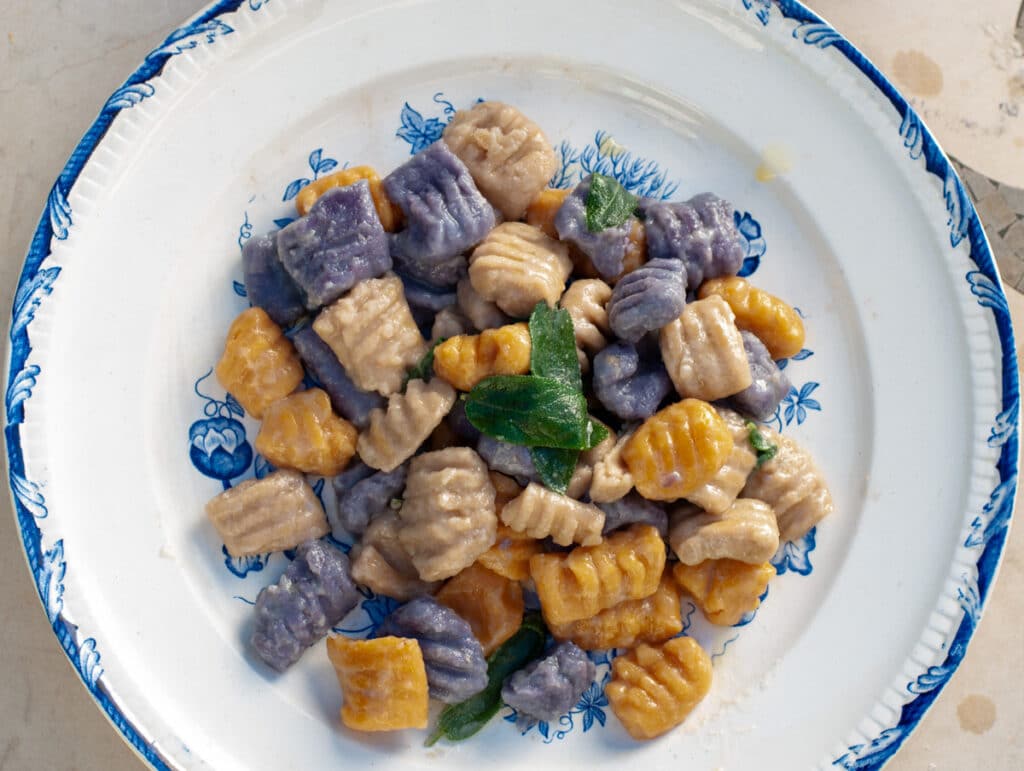
If you like to try homemade pasta, I am sure you will also love to make fresh homemade gnocchi, and here are some recipes you can try:
FAQ
Fresh pasta cooks faster than dried pasta, but it only requires 4 minutes of the rolling boil to cook al dente.
It will last one week stored in an air-thigh container. If you want to keep it for longer, you can freeze it.
If you are making a homemade Italian pasta recipe, leave your comment below I would like to hear from you. You can find more delicious ideas if you FOLLOW ME on Facebook, YouTube, Pinterest and Instagram or sign up to my newsletter.
📋 Homemade Italian Pasta Recipe
Verified Culinary AuthorityVideo
Ingredients
- 3 cups semolina flour
- 5 fresh eggs
- 1 tablespoon extra virgin olive oil
- 1 cup flour to dust the surface
Instructions
Making the dough
- Put the eggs, the semolina flour, and the olive oil into the mixer3 cups semolina flour, 5 fresh eggs, 1 tablespoon extra virgin olive oil
- Mix the dough until it is smooth and elastic, it will take few minutes
- Wrap the dough in cling and let it rest for 30 minutes
- On a large well-floured surface, cut the dough into 6 pieces1 cup flour
Making the sheets
- Position the machine rolls thickness settings at number 1
- Pass the first piece of dough through the rolls (keep the speed of the rolls low, on KitchenAid I use 2)
- Fold the dough and pass it through again several times
- Until the dough is smooth and you hear a bubble burst
- Do the same with all the pieces of dough until all the dough is shaped in thick sheets (about 3 mm - ⅛")
What to do if the sheet tears
- If the dough tears
- Fold and dust the surface with regular flour
Thinning down the pasta sheets
- Once all the dough is shaped into sheets
- Reduce the rolls thickness settings to number 2
- Pass all the sheets through one by one (low speed)
- If the sheets get too long cut them in two with a sharp knife ( I usually keep my sheets 20 cm - 8 in long)
- Keep reducing the thickness of the rolls to number 3
- Pass all the sheets through the rolls again
- Reduce the thickness to number 4 and pass all the sheets again
- The sheets will become very long. If you don't have enough space and you have to overlap them, flour their surface so they don't stick to each other
Making tagliatelle
- Insert the tagliatelle roll into the machine and pass through the sheets one at the time
- Place each batch of tagliatelle on the floured board
Making spaghetti
- Insert the spaghetti roll into the machine and pass through the sheets one at the time
- Place each batch of spaghetti on the floured board
How to store it
- The pasta can either be cooked immediately or stored for later use.
- If you want to store the pasta for later use, spread them on the board
- Let them dry for few hours covered with a cloth
- Store in an air thigh container and use within 1 week
How to cook it
- Boil it in salted water for 4 minutes

- Drain, season, and serve immediately
Notes
- Regular flour will make the pasta too tough and will not have the right consistency. If you cannot find the Semolina flour, you can try using the same flour you would use for bread.
- For every 100 gr (3.5 oz) of semolina flour, we use 1 egg. This is the amount we would serve per person
- 100 gr of semolina flour is about 0.6 cup, so slightly more than half a cup.
- Traditionally eggs with a dark shell were used as the yolk would have a brighter red color that will give the pasta a nice golden look.
- For every 3 eggs, you would need to add 2 teaspoon of olive oil and a pinch of salt.
- American flours may need a tablespoon of water.
- Dust the sheets with flour if you have to overlap them
- Make sure you have enough space to lay the pasta sheets as they will get very long when passing them through the thin roll setting
- Setting Number 1 and 2 to knead and shape the dough into sheets
- Setting Number 3 a thicker pasta used for stew or broth
- Setting Number 4 is used for lasagna, tagliatelle, fettuccine, and spaghetti
- Setting Number 5 for tortellini and ravioli
- Pasta rolls and pasta machines should not be washed with water otherwise the rolls will rust. Use a brush to brush off the remaining flour.
- If the rolls still look dirty, pass a small amount of dough to remove the dirt and throw it away.


Nathan
What an informative post! I've never made pasta myself, but with all of these tips I feel like I might be able to make it work! Can't wait to try it out 🙂
Laura
You will definitely love it
Sara Welch
Such a light yet hearty pasta and much easier to prepare than I initially expected! Definitely prefer this homemade version over store bought pasta!
Laura
Thank you, yes big difference
Mary
I love rolling out pasta with my KitchenAid pasta roller! Makes me feel like a kid with play-doh, ha! This pasta was great!
Laura
Yes, it is so relaxing
Courtney
Hands down homemade pasta beats store bought pasta any day of the week. So much fun to make with the kids too!
Laura
Yes, children love it and eat it all
Michelle
Thanks for sharing such a detailed recipe on how to make Italian pasta! Can't wait to try it 🙂
Laura
Thank you will love it
Biana
Yum! Thank you for sharing the step by step for making pasta, always wanted to try making it.
Laura
You are welcome, I am sure you will like it
Susan Henning
Very nice post. Just for your information. The color of the egg shell has nothing to do with the color of the yolk. While we are psychologically drawn to brown eggs, the desirable, golden, even orange color of some egg yolks is a result of what those chickens have been eating. The color of the shell is determined by the breed of chicken.
Laura
Thank you for the feedback! I’ve removed that information as it isn’t entirely accurate, even though it’s a popular belief. I really appreciate you taking the time to share this insight!