Homemade Italian liqueurs are traditions that carry within the families for generations. Started as a way to store medicinal herbs, it became a pleasant after-dinner drink to share with friends and a unique edible gift.
Jump to:
The origin of liqueurs
After dinner liqueurs originated in the 9th-century when monks discovered that their medicinal herbs could be stored in alcohol for a long time.
Monks started to experiment with herbs, spices and seeds creating a wide variety of drinks.
With time those liqueurs have become part of a social ritual as after-dinner entertainment, and besides their medicinal value, they certainly bring a joyful end to the meal.
If you want to find out more about the monks' origin of the liqueurs you can read the article: Therapeutic liqueurs that encourage “leisureliness”
Type of liqueurs
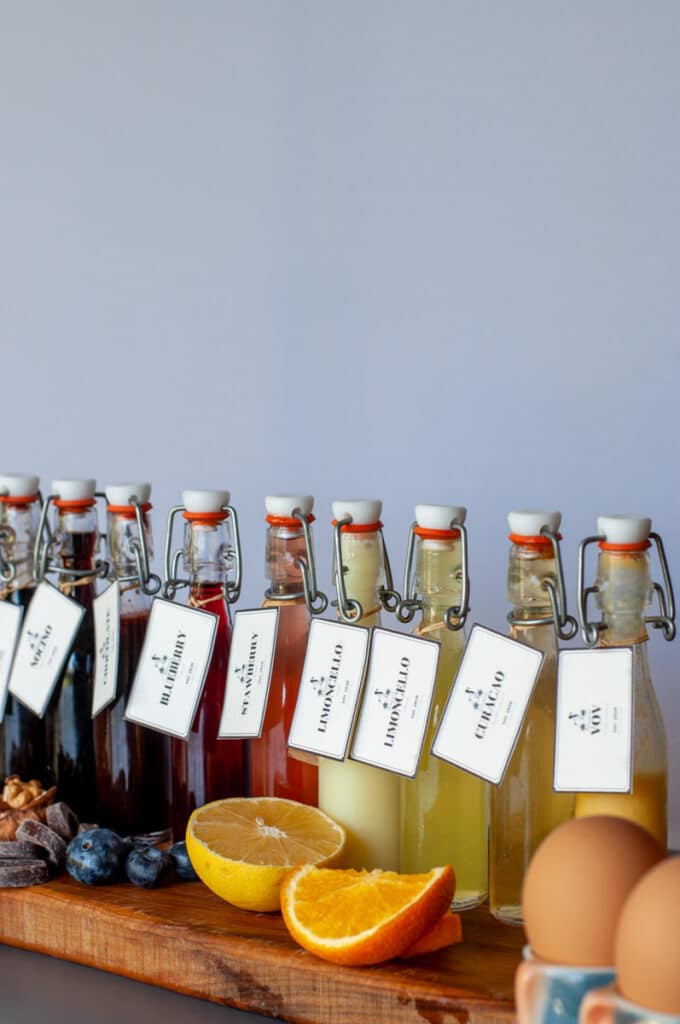
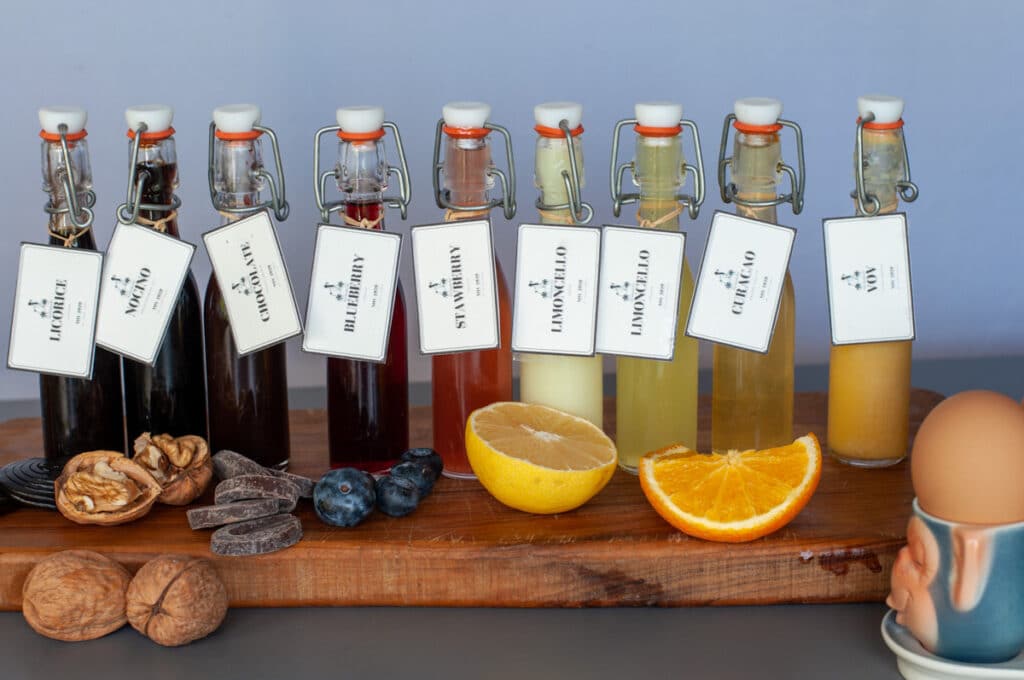
I have already published 8 different liqueurs made with fruits as well as eggs, chocolate, and licorice.
Although, there are many more that can be made, practically with any leaves, roots, or fruits you can find in nature.
The procedure is very similar, differing mainly on the time the ingredients are soaked in alcohol and the proportion of alcohol vs syrup.
List of liqueurs
These are the liqueurs I have already published in the blog, but more will come with time.
- the classic Limoncello
- a creamy Limoncello Cream
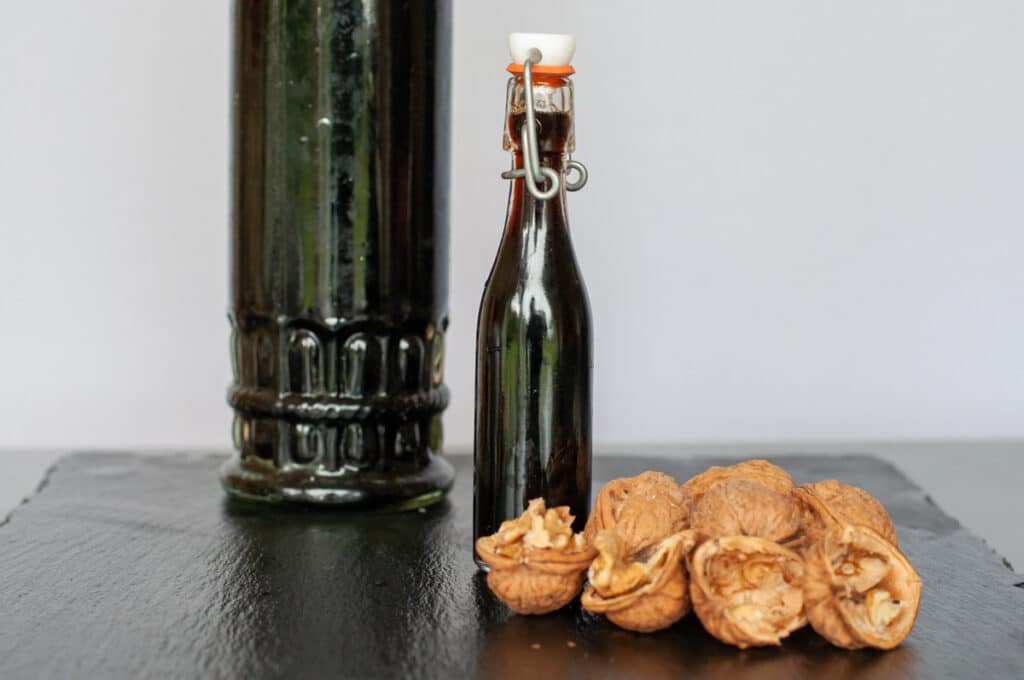
- the nutty Nocino
- a Chocolate Liquor
- a versatile Orange Curacao
- a pink Strawberry liqueur
- natural healing of Licorice Liqueur
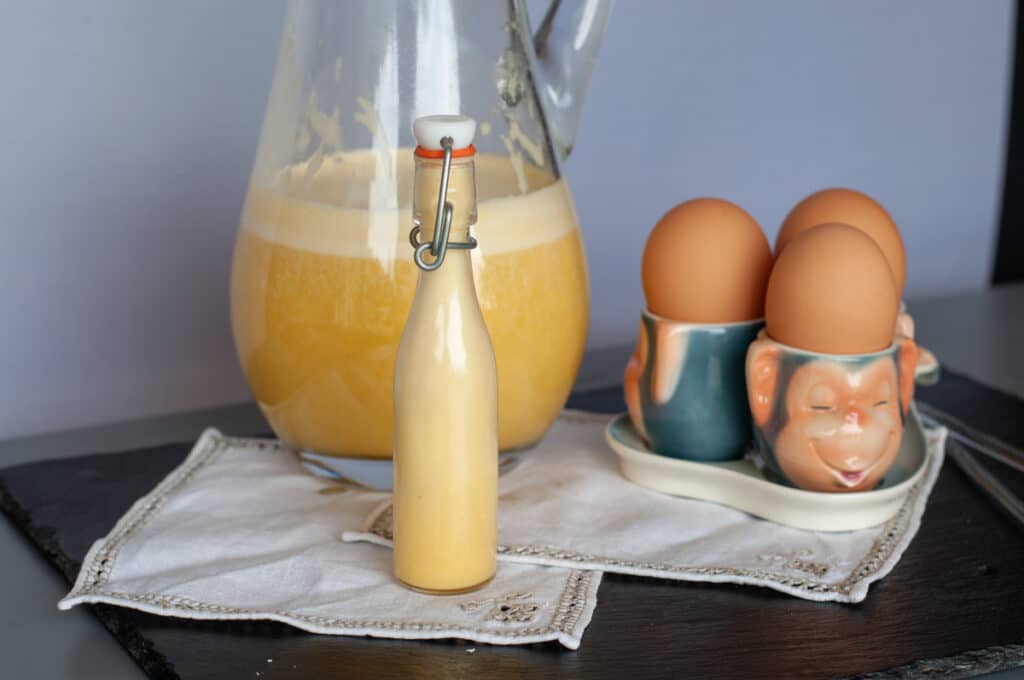
- Italian Eggnog VOV for Christmas
- a Spring violet liqueur
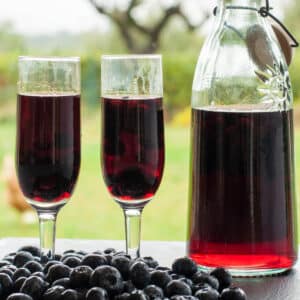
- a blue Blueberry liqueur
If you are interested in more homemade Italian liqueurs recipes, subscribe to my email list to be notified when new recipes are published. We value your privacy and you can unsubscribe anytime.
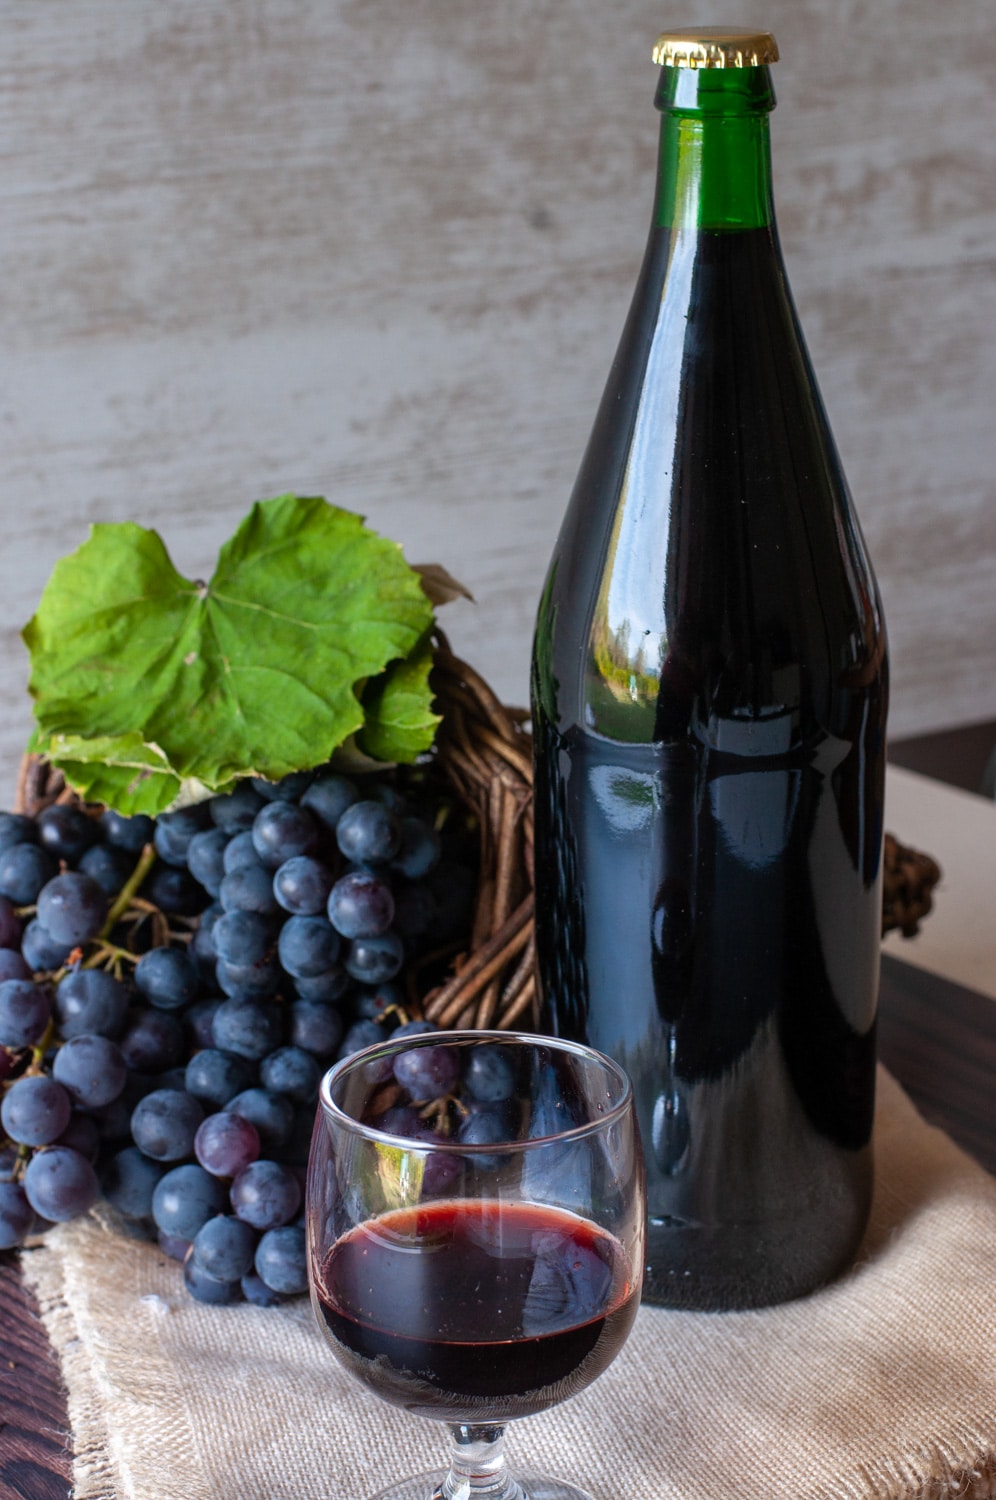
For those of you who like the thrill of the forbidden fruit, try to make Concord Grape Wine Fragolino.
Banned in Europe for commercial use, you can only try it if you make it for personal consumption.
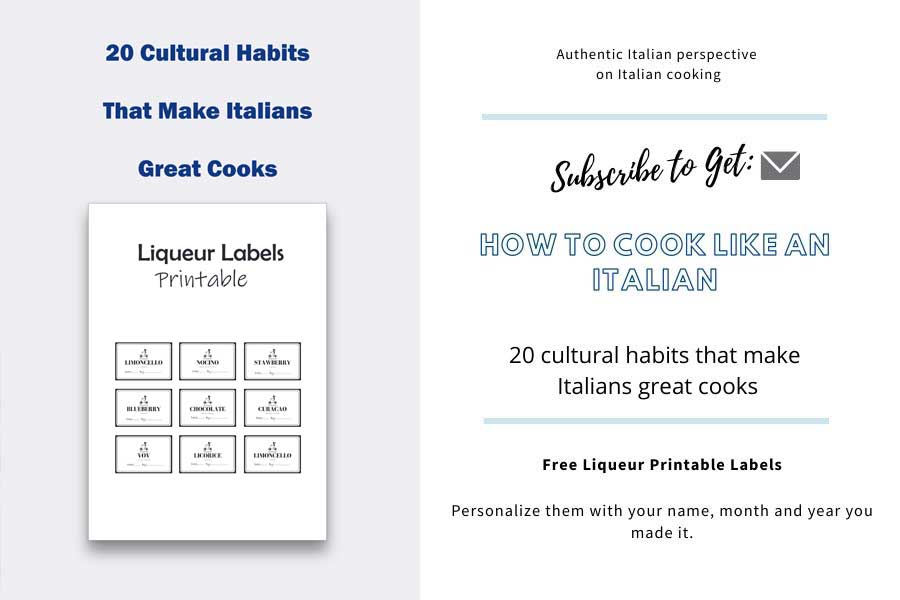
Subscribe to get: 20 cultural habits that make Italians great cooks
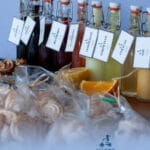
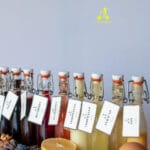
Plus download the printable liqueur labels you find in the picture below.
No risk of botulism
Since a reader asked, I would like to reassure everyone who has doubts, this liqueur is not at risk of botulism. This recipe uses Alcohol 95% or Vodka 50% of ethanol.
Here is a study that proves botulism cannot grow in Alcohol: ”The growth and neurotoxin production (botulism) were delayed by an ethanol concentration of 4% ethanol and completely inhibited by a concentration of 6%”.
Effect of Ethanol on the growth of Colstridium botulinum
Botulism is a concern with home canning… not fermentation or infusions of fruits and vegetables.
Here more information about botulism from the USDA Food Safety and Inspection Service: Clostridium Botulinum
Setting up a liqueur workshop
You can easily create your liqueur workshop with just a few items. They are not expensive and you can order them online from my Amazon shop: Homemade Liqueur Lab. Those are my favorite and specially selected tools to make the process smooth and easy:
- Jars 67 ounce - 2 liters: I use large canning jars to infuse herbs or fruits in the alcohol. They are easily sealed and don't take much room in the cupboard. I usually brew different types of liqueurs at the same times so I need several jars. If you are an occasional liqueur maker, you can just use the bottle below.
- 1 gallon - 3-liters glass bottle: I use this bottle in the second part of the brewing process, once I add the syrup. It is a transparent glass bottle so I can check how the liqueur is progressing and if it needs a good shake. It is important that this bottle has a large neck so the residuals of the fruits, zests, spices, or herbs can be easily removed without any problem once the liqueur is ready to be bottled. Personally I have 2 of those large bottles.
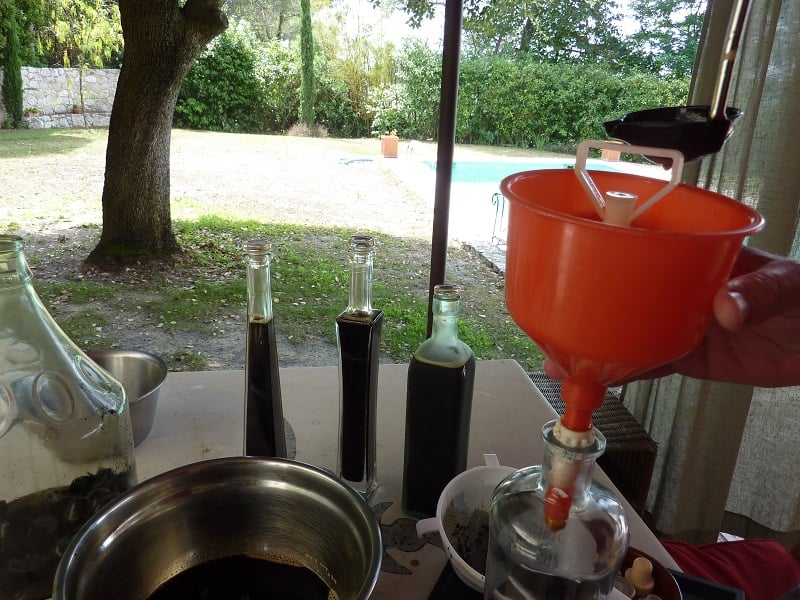
- Funnel with a wide and short stem: When you are pouring the liqueur from one bottle to another during the brewing process, you need to have a funnel with a wide and short stem so it doesn't get clog with the ingredients that are brewing in the alcohol.
- Auto-stop funnel: However, once the liqueur is ready, filtered and all the solid particles have been removed, I like to use an auto-stop funnel with a floating system that stops the liquid from flowing once the bottled has been filled.
It is very difficult to gauge how much liquid can fit in a bottle and I often fill the funnel way too much. Instead of overflowing the bottle, the auto-stop funnel locks the stem automatically and the excess liquid remains in the funnel.
The funnel can be easily removed, transferred into another bottle using the handle that keeps the liquid inside the funnel and no liqueur is wasted.
- Fine Mesh Strainer: to remove all solids and particles from the liqueur once it is ready to be filtered.
- Measuring mugs: it is very important to use the exact proportion of syrup vs alcohol. Measurements mugs are a must.
- Ladle with spout: to easily pour the liquid into the funnels from a large bowl or pan. I always use the ladle with a spout to take the syrup from the pan where I boiled it into the funnel. If you don't have a pan with a spout, this is the easiest way to pour the syrup once it is cold.
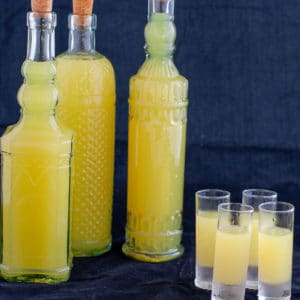
- Fancy vintage bottles: I love to have my own liqueur assortment into those vintage bottles. It gives my homemade liqueurs an extra wow factor.
- Small glass bottles with lids: if you want to store the liqueurs in small bottles or if you want to give it as gifts to friends and family those small bottles are perfect. The lid seals and they can be easily carried. They even come with labels to write the name of the liqueur and the date.
- Shot glass set and/or Small liqueur glasses: it is very important to serve the liqueur in small shot glasses so it can be slowly sipped and relished.
- Good Grips Bottle Brush: to easily clean all the bottles after each use. Some liqueurs can be very sticky and stain easily like the walnut hull.
- If you want to give your liqueur an extra festive look you can also use the Rose Ice Cube Stackable to make rose ices or the ice cube with light to make your liqueur shine at night.

Use for the remaining ingredients
Some of the liqueurs soak the ingredients in the alcohol for few weeks but once you filter the alcohol to make the liqueurs, you are left with the alcohol imbibed ingredients like green walnuts, lemon or orange zests, mashed strawberry.
I don't like to trow food away, plus these flavored ingredients can be reused to enrich other recipes.
So you will find in every liqueur recipe a link to another recipe you can make with the leftover.
- On the Nocino liqueur, I use the walnuts to flavor wine which can be drunk cold or warm as a mulled wine
- For the Limoncello and Curacao, I use the lemon zest to flavor cookies, cakes, or even meat like the duck a l'orange or the Daube Provencal or even simple meatballs
- I use the egg white leftover from the eggnog to make homemade meringues or pavlova
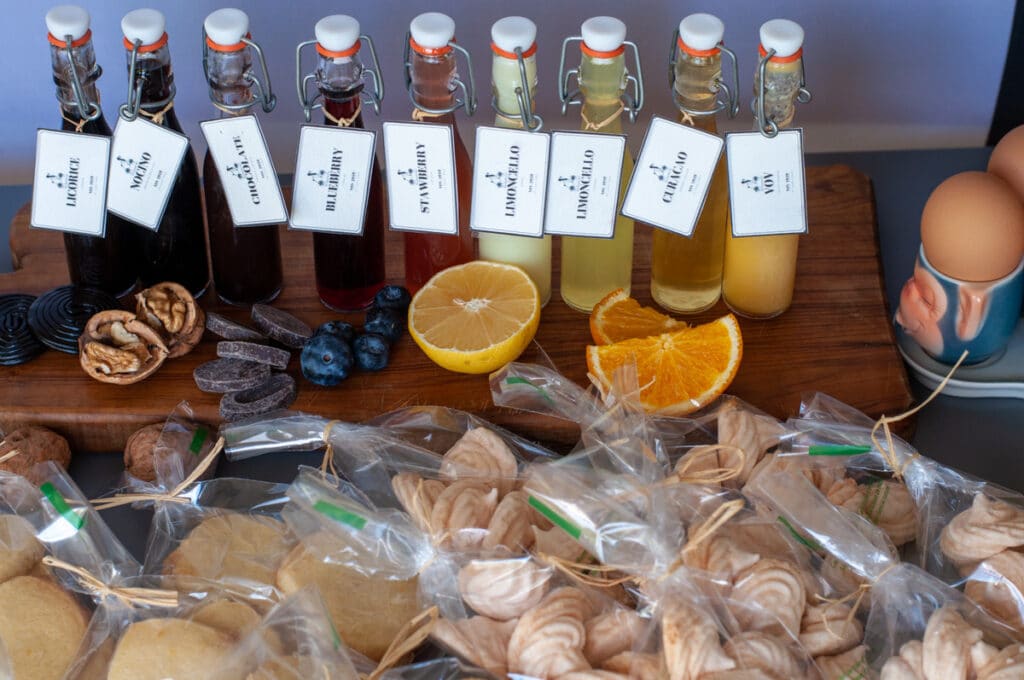
- You can package the cookies and the meringues in small transparent bags and offer them as an edible gift together with a bottle of liqueur.
If you are making any of these homemade Italian liqueurs, leave your comment below I would like to hear from you. You can find more delicious ideas if you FOLLOW ME on Facebook, YouTube, Pinterest and Instagram or sign up to my newsletter.

Leave a Reply