

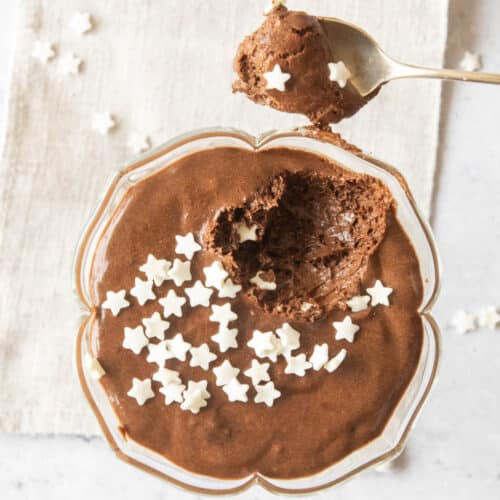
This homemade chocolate liqueur delivers a rich, creamy texture without using any dairy. Unlike quick versions that spoil rapidly, this authentic Italian method creates a shelf-stable liqueur that lasts for up to two years. It is delicious enjoyed straight after dinner, poured over ice cream, or bottled as a special gift.

Jump to:
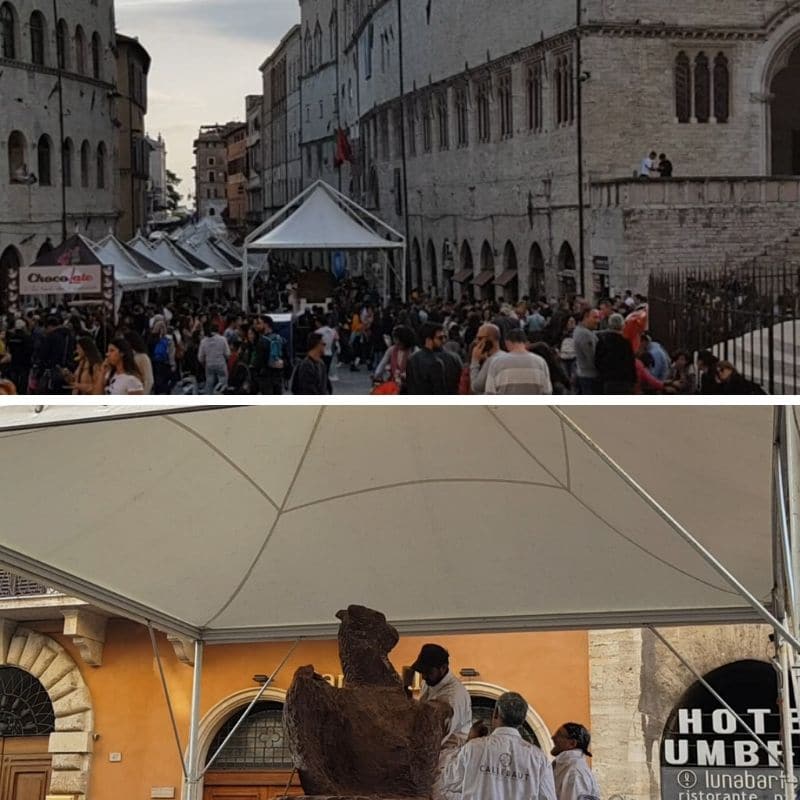
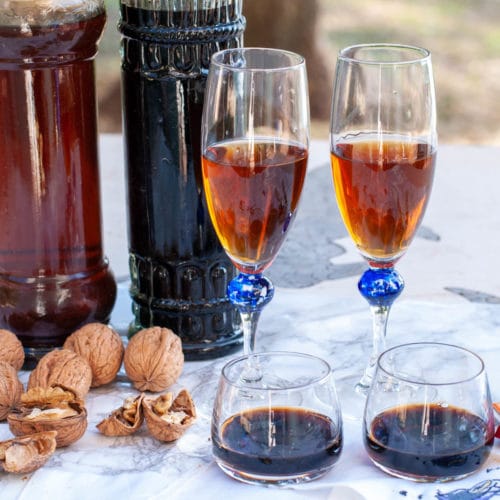
I first discovered the intense flavor of chocolate liqueur at the Eurochocolate festival in Perugia, the hometown of the famous Baci Perugina.
I was immediately hooked, but I wanted to make it at home.
Searching through my mother's extensive cooking library, I found this specific recipe in a vintage 1960s issue of La Cucina Italiana.
What makes this recipe unique-and superior to many quick online versions-is that it is completely dairy-free.
While others rely on condensed milk or heavy cream to achieve thickness, this traditional method uses a rich cocoa syrup and time.
It requires patience: the liqueur must rest for sixty days.
This aging process allows the alcohol to mellow and the mixture to naturally thicken.
The reward is a velvety, creamy drink that is safe to store in your cupboard for up to two years.
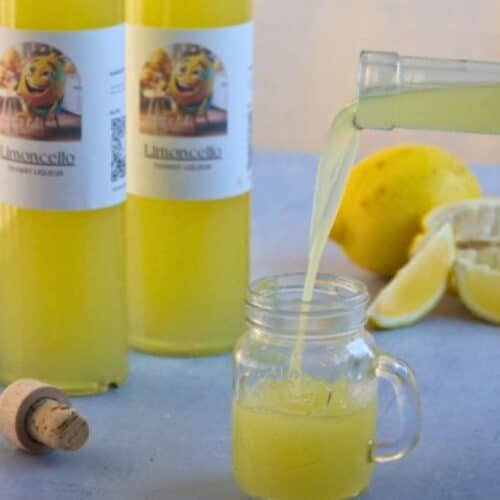
For more homemade liqueur recipes, you can check: homemade orange liqueur, limoncello, and strawberry liqueur.
For the entire collection, check the category: homemade liqueurs.

Ingredients
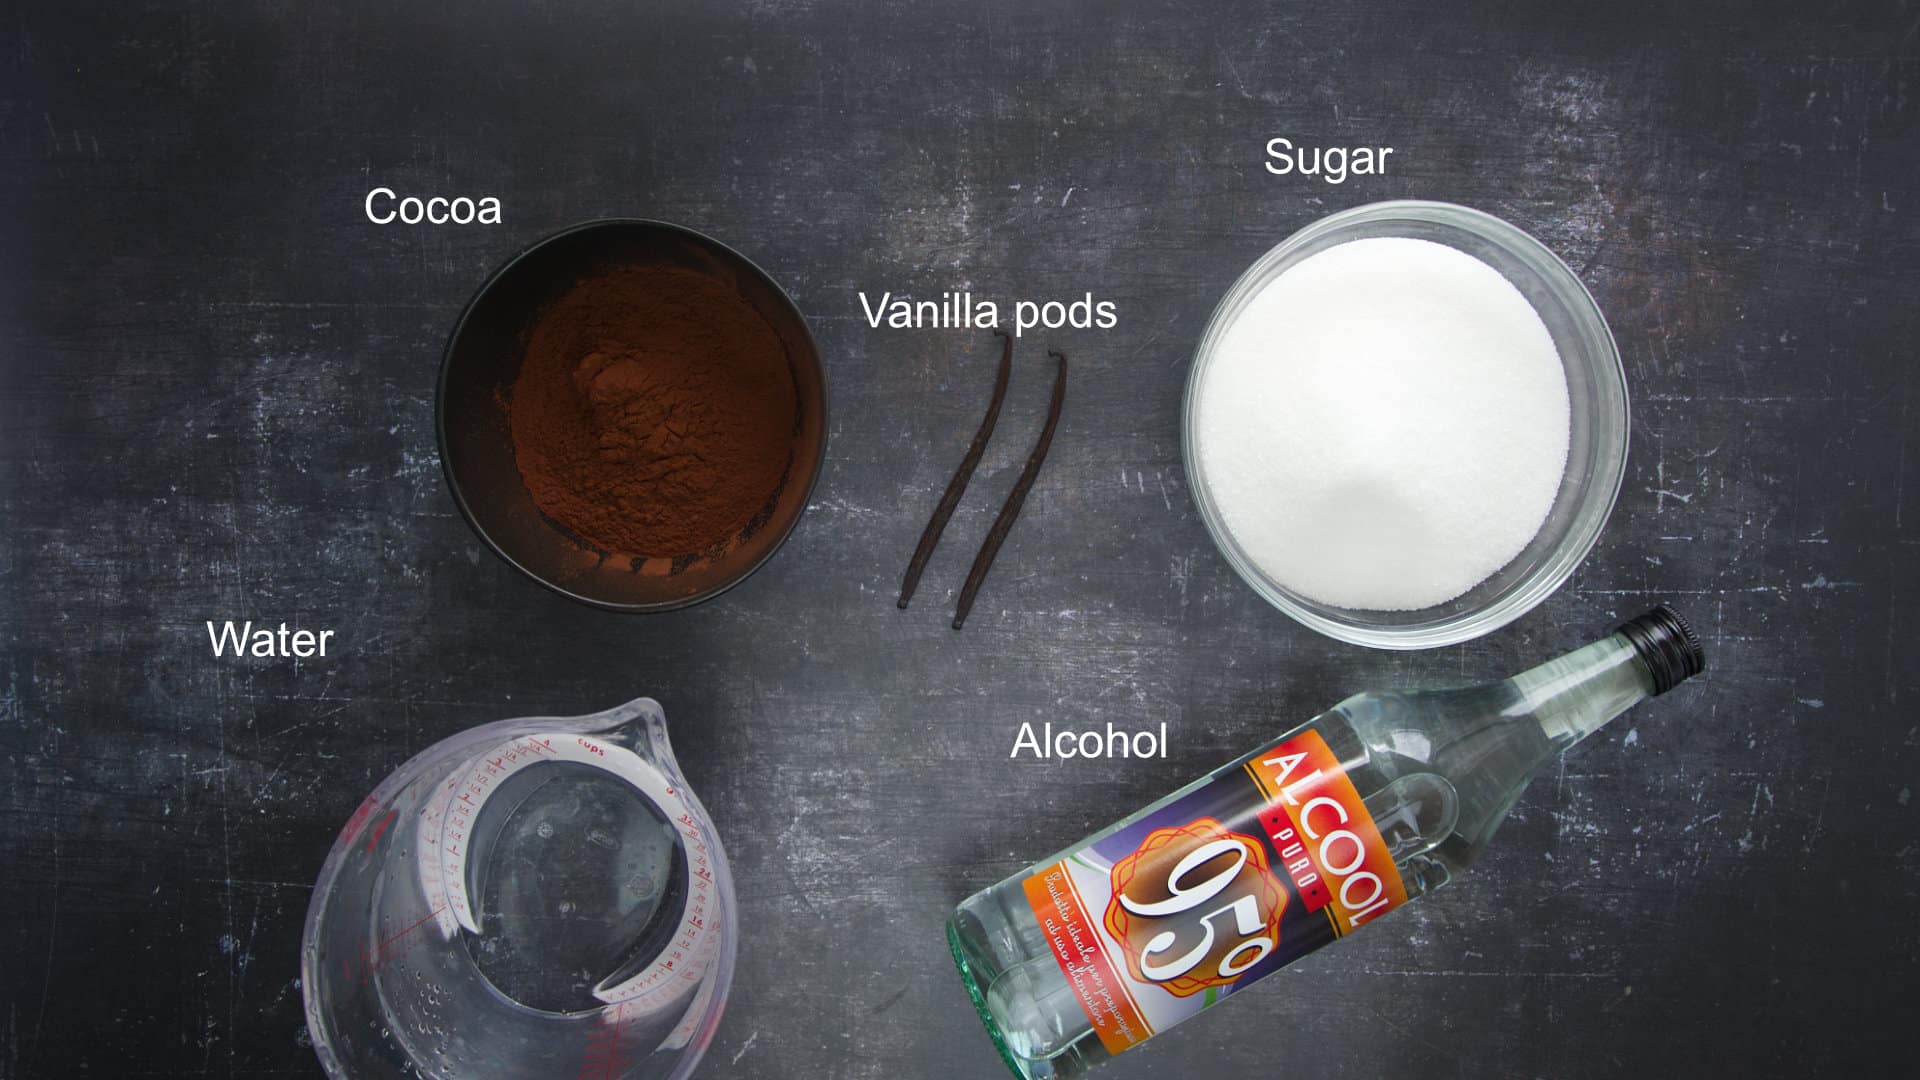
To make a homemade chocolate liqueur, you'll need the following ingredients:
- Unsweetened Cocoa Powder: Select a high-quality cocoa powder to achieve a rich and intense chocolate flavor. I use Valrhona, which I stock up on when I visit the famous chocolate city in France. It is critical to use unsweetened cocoa; do not use sweetened chocolate mixes, or the liqueur will become cloying.
- Vanilla pods: You must use a whole vanilla bean for this recipe, not vanilla extract. The pod needs to soak in the alcohol for a month to extract the authentic, natural flavor.
- Base Alcohol: In Italy, we traditionally use 95% pure grain alcohol (Alcool Puro) . This high proof is the gold standard for preservation and extraction. If you cannot find this, please see the section below regarding Vodka.
- Sugar: You will need plenty of sugar, as it is essential not only for sweetness but also acts as a preservative. The high sugar concentration helps create the syrup base that gives the liqueur its density and ensures it remains shelf-stable for years.
- Water: This is used to dissolve the sugar and cocoa powder to create the dense syrup base
Check the recipe card for the quantity.
Hint: This recipe has no heavy cream or milk, so this chocolate liqueur is non-perishable with a very long shelf life.
Also, check the article: Setting up a liqueur workshop
How to make this with Vodka (if you can't find 95% Alcohol)
In Italy, we use 95% pure alcohol because it is a powerful preservative that ensures the liqueur lasts for years without refrigeration . However, I know that 95% alcohol is difficult to find or illegal in many countries like the US or UK. You can successfully adapt this recipe using Vodka .
- Select a High-Proof Vodka: If available, choose a vodka with 50% alcohol (100 proof) or higher. Standard 40% (80 proof) vodka will also work .
- Adjusting the Ratio: Pure alcohol is dehydrated, whereas vodka contains a significant amount of water (usually around 60%). If you use standard vodka, you are introducing more water into the mixture than the traditional recipe calls for. To maintain the signature creamy, thick consistency, you should slightly reduce the amount of water used when making the sugar syrup .
Step by step instructions with images
Infuse the vanilla pods into the alcohol
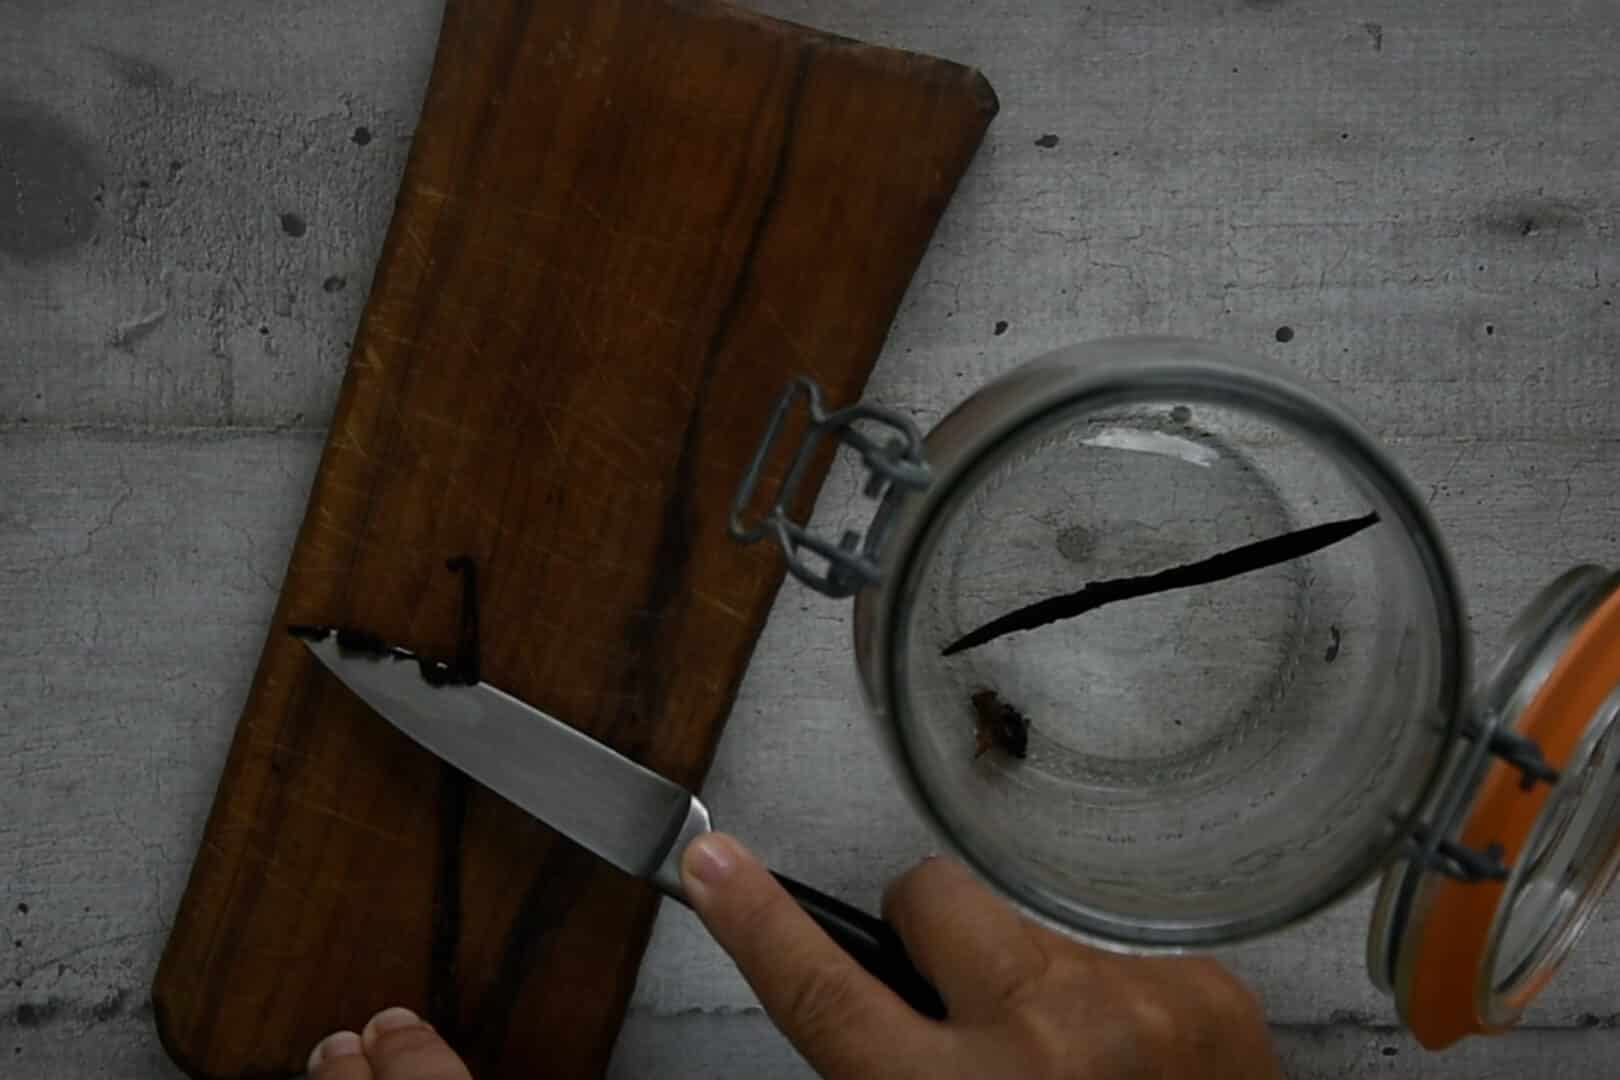
- Cut the vanilla pod lengthwise and scrape the seeds into a glass jar. Add the empty pod to the jar as well.
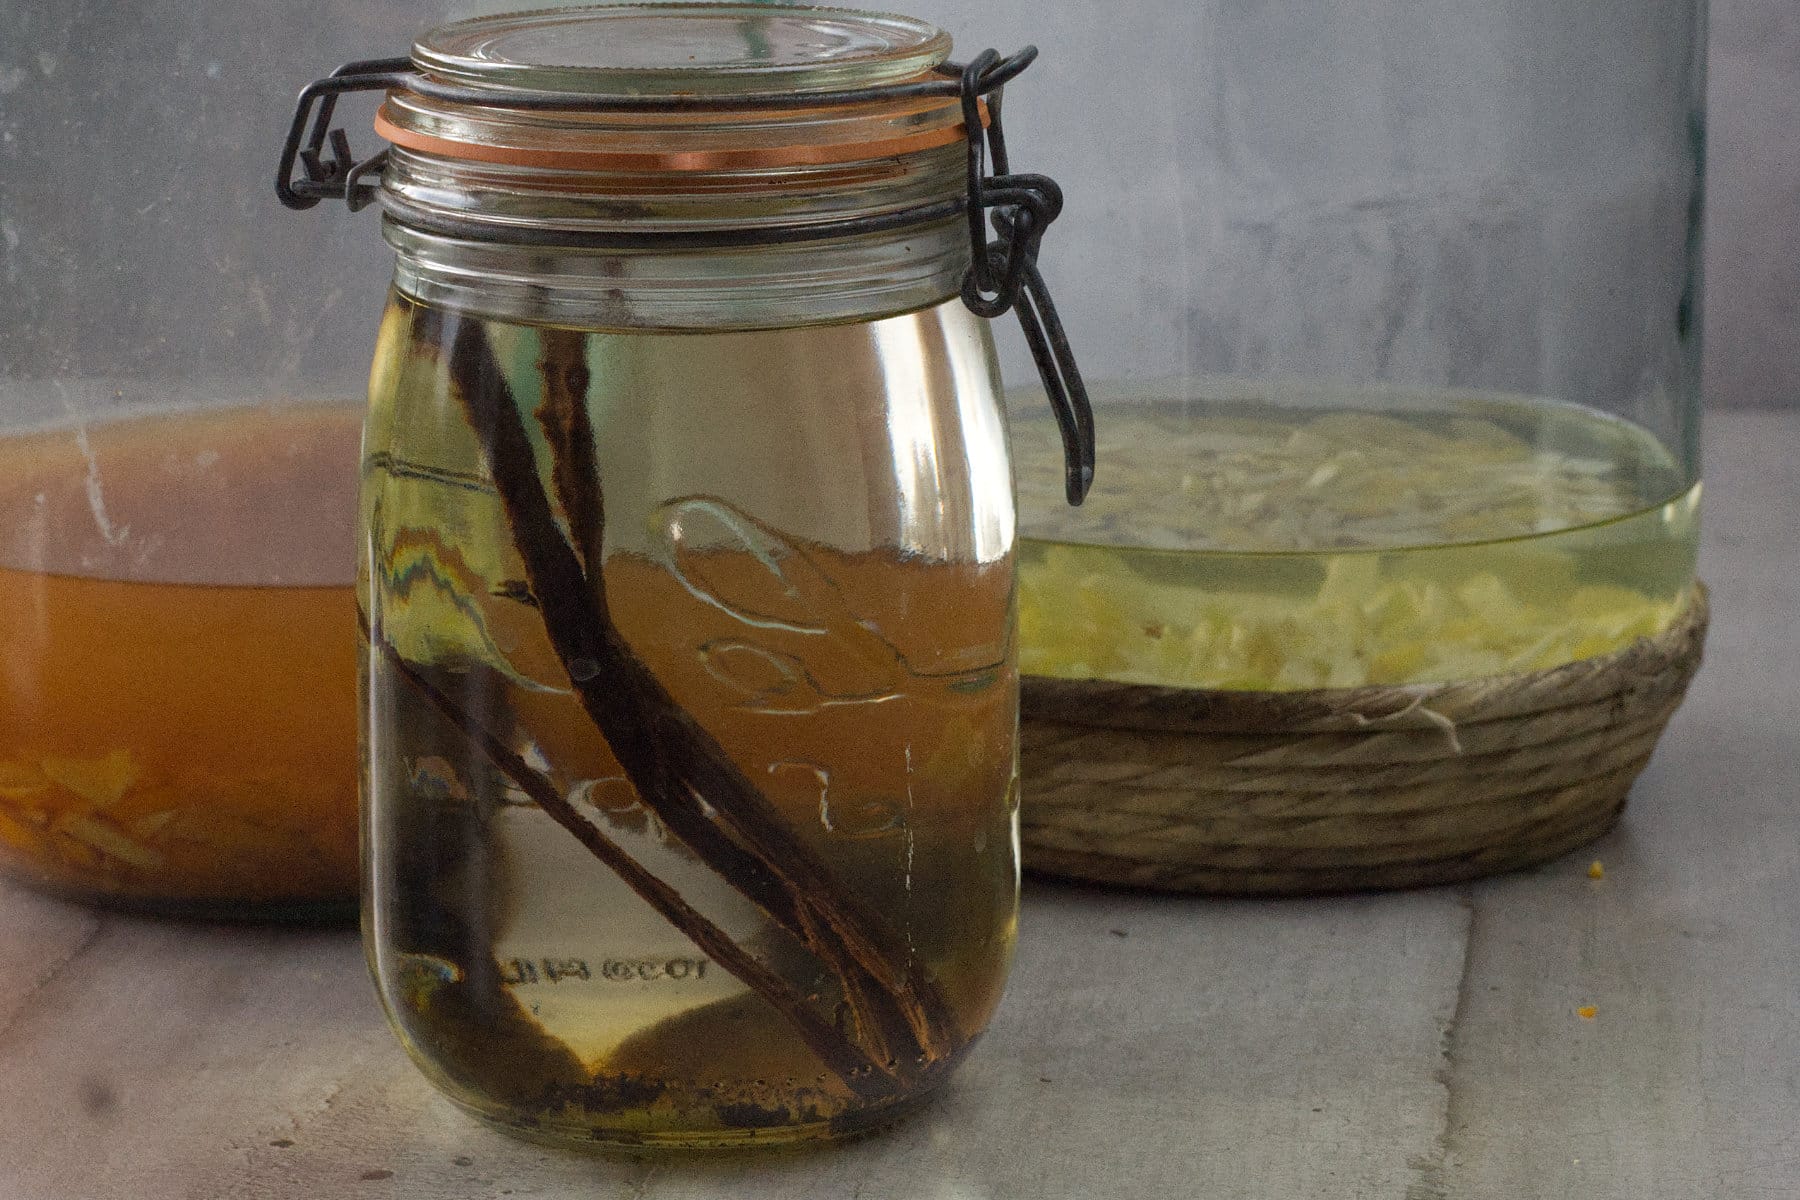
- Pour the alcohol (or vodka) over the vanilla, seal the jar tightly, and let it infuse in a dark place for 30 days.
Prepare the chocolate syrup
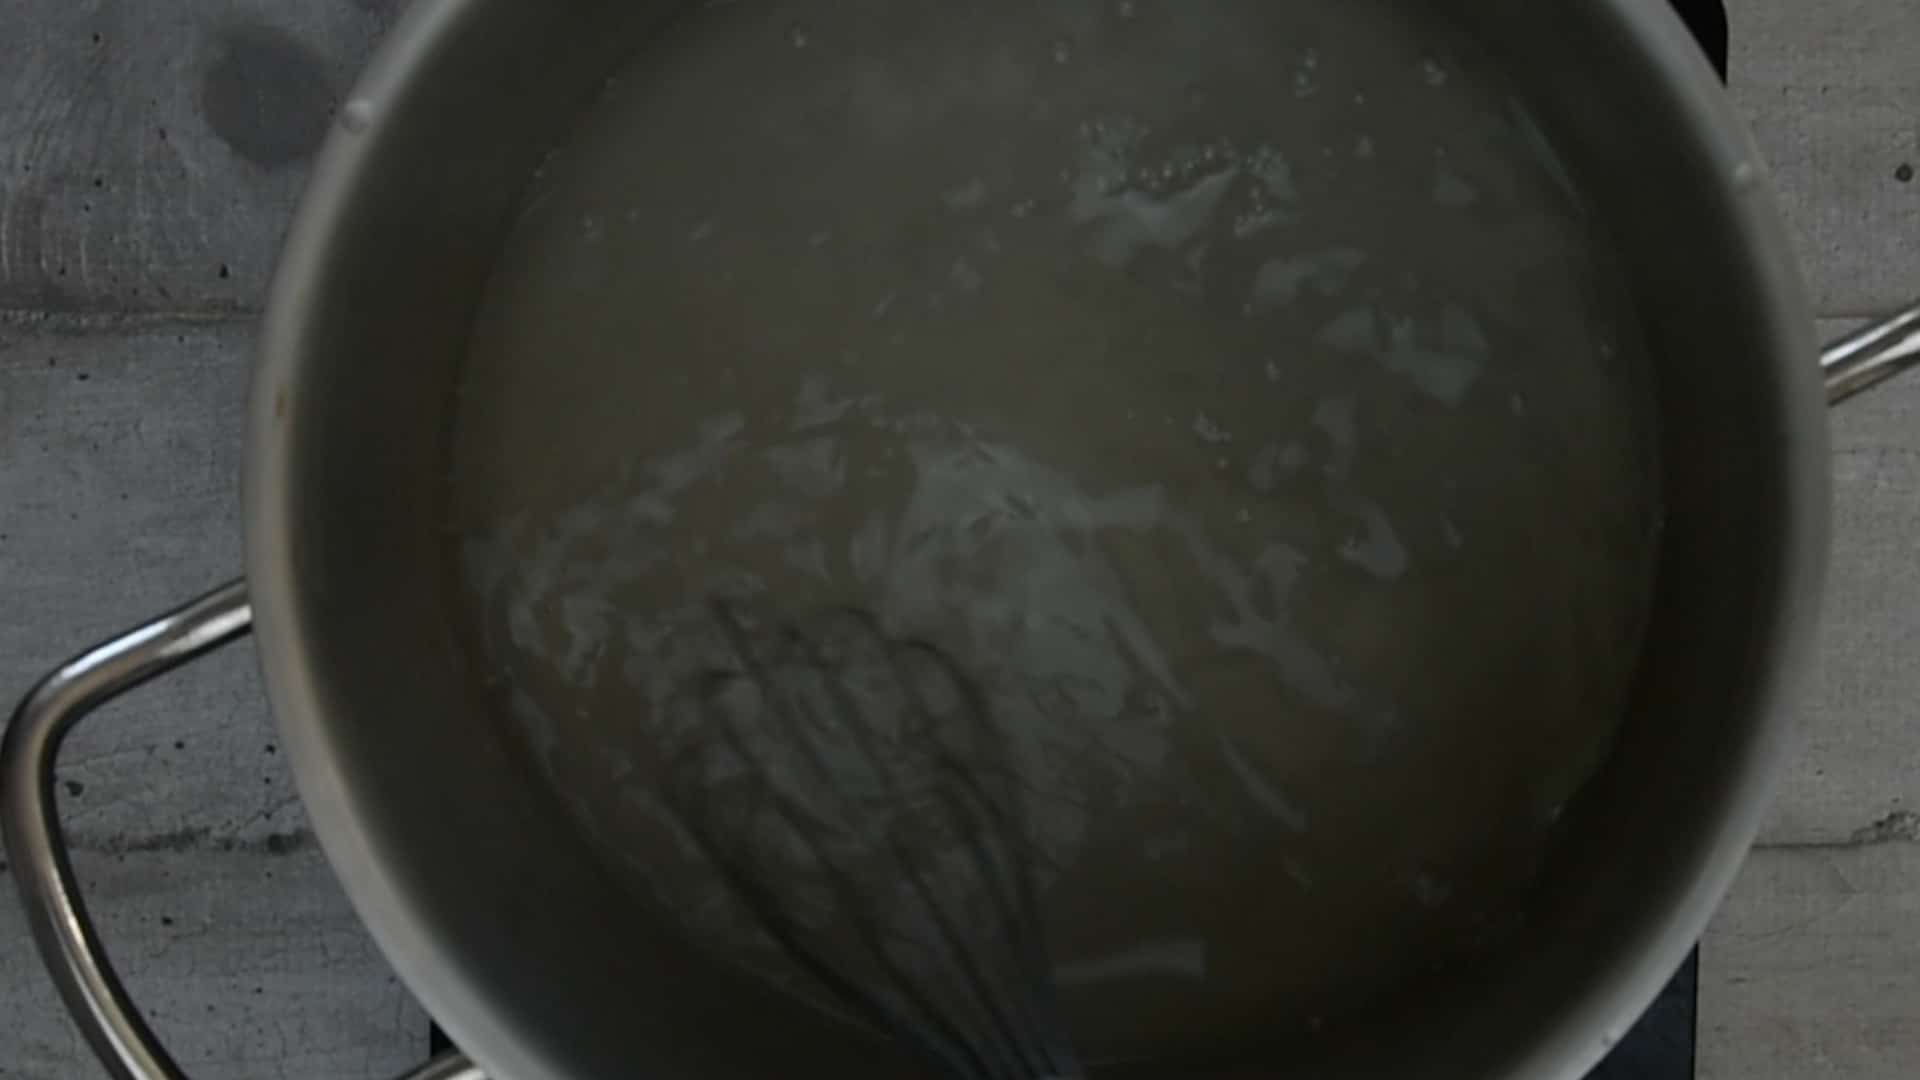
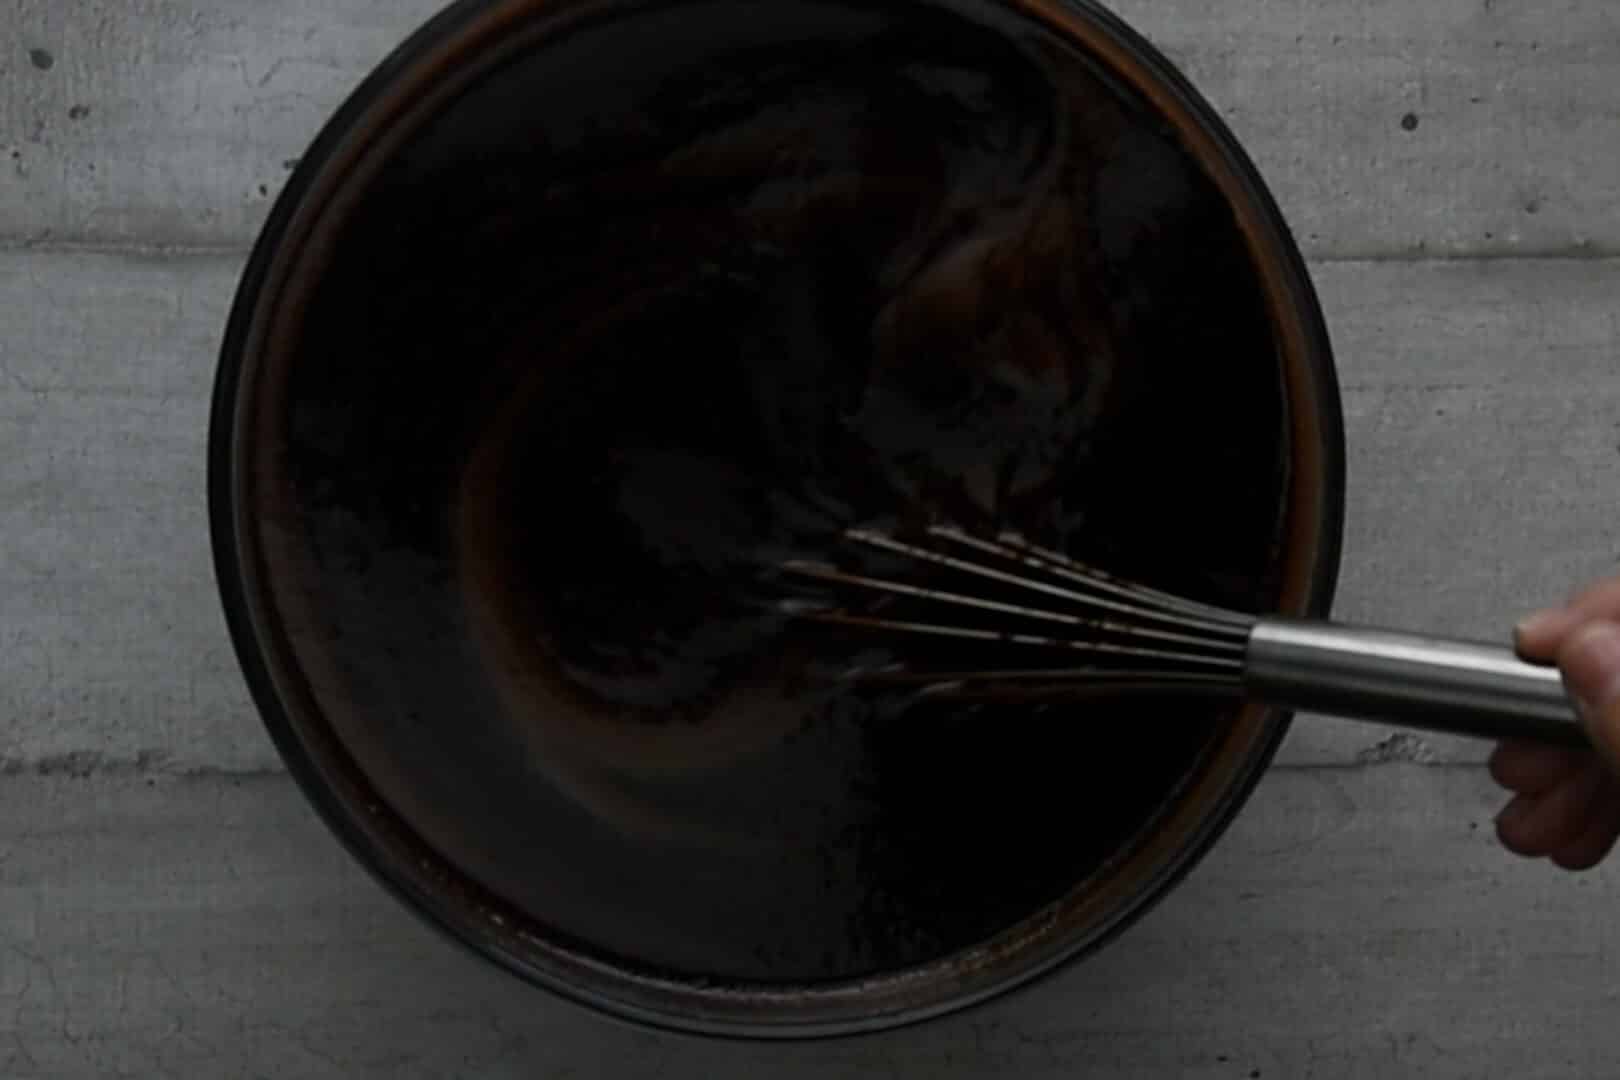
- After the month has passed, prepare the syrup by placing the water and sugar in a large saucepan over medium heat.

- Stir until the sugar is fully dissolved, then gradually add the cocoa powder. Whisk constantly to ensure the cocoa melts completely into the syrup without forming lumps.
Note: Use a large pan because the chocolate syrup will significantly increase in volume once it starts to boil.
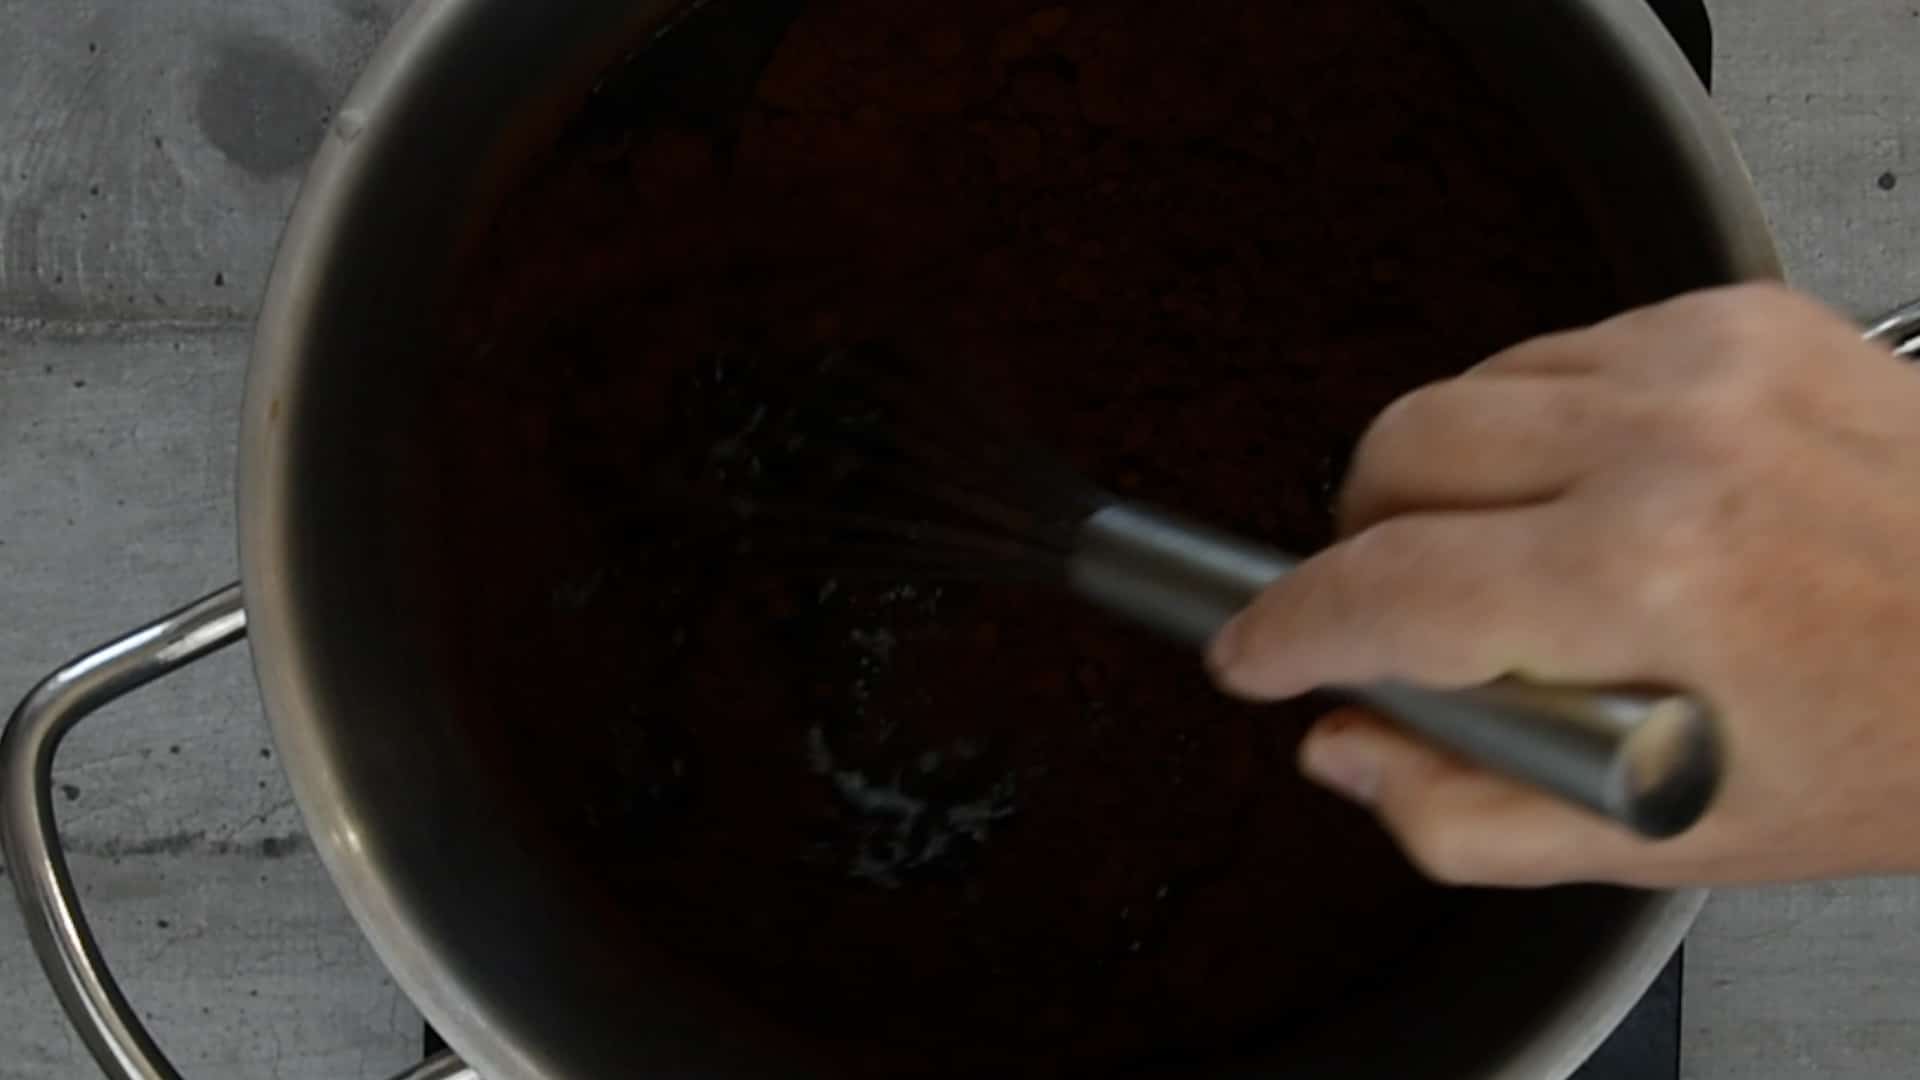
- Bring the mixture to a gentle simmer and let it cook for exactly 5 minutes.
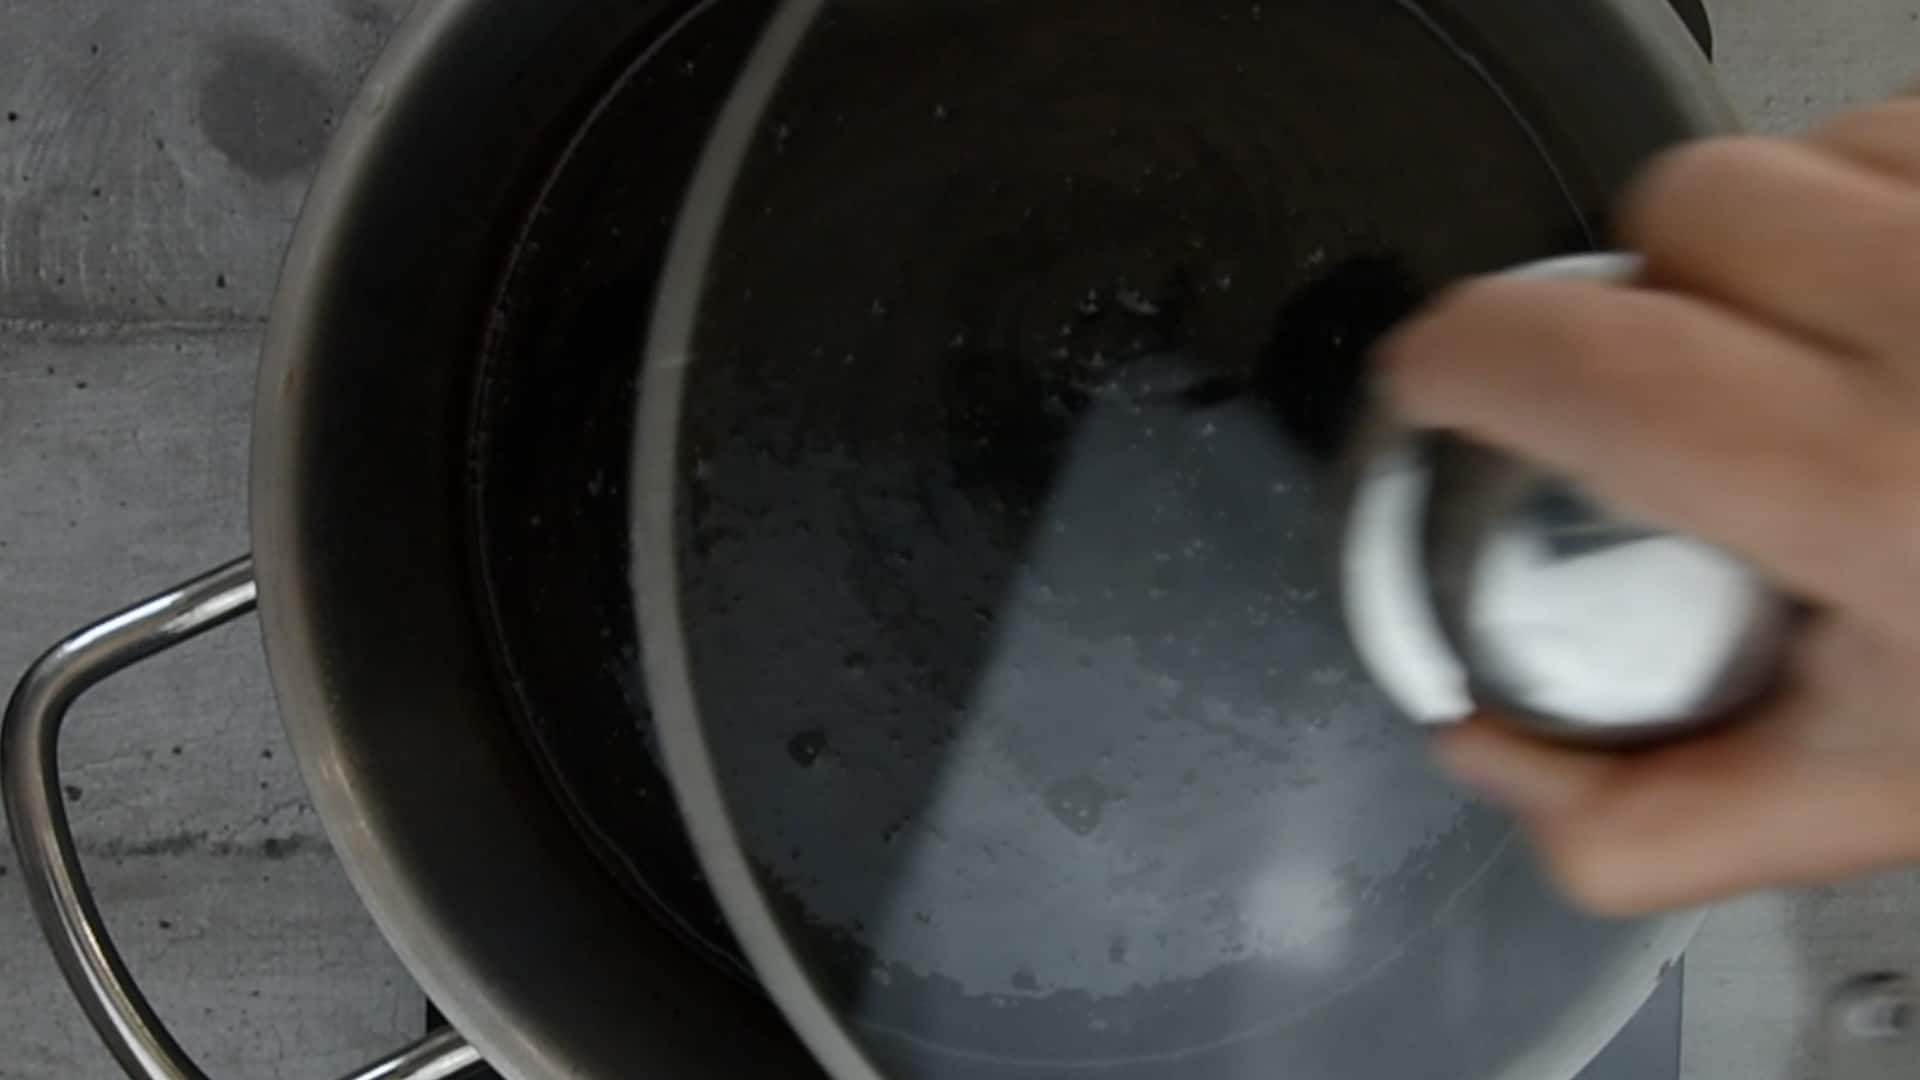
- Remove the pan from the heat, cover it, and allow the syrup to cool down completely to room temperature.
Mixing it all
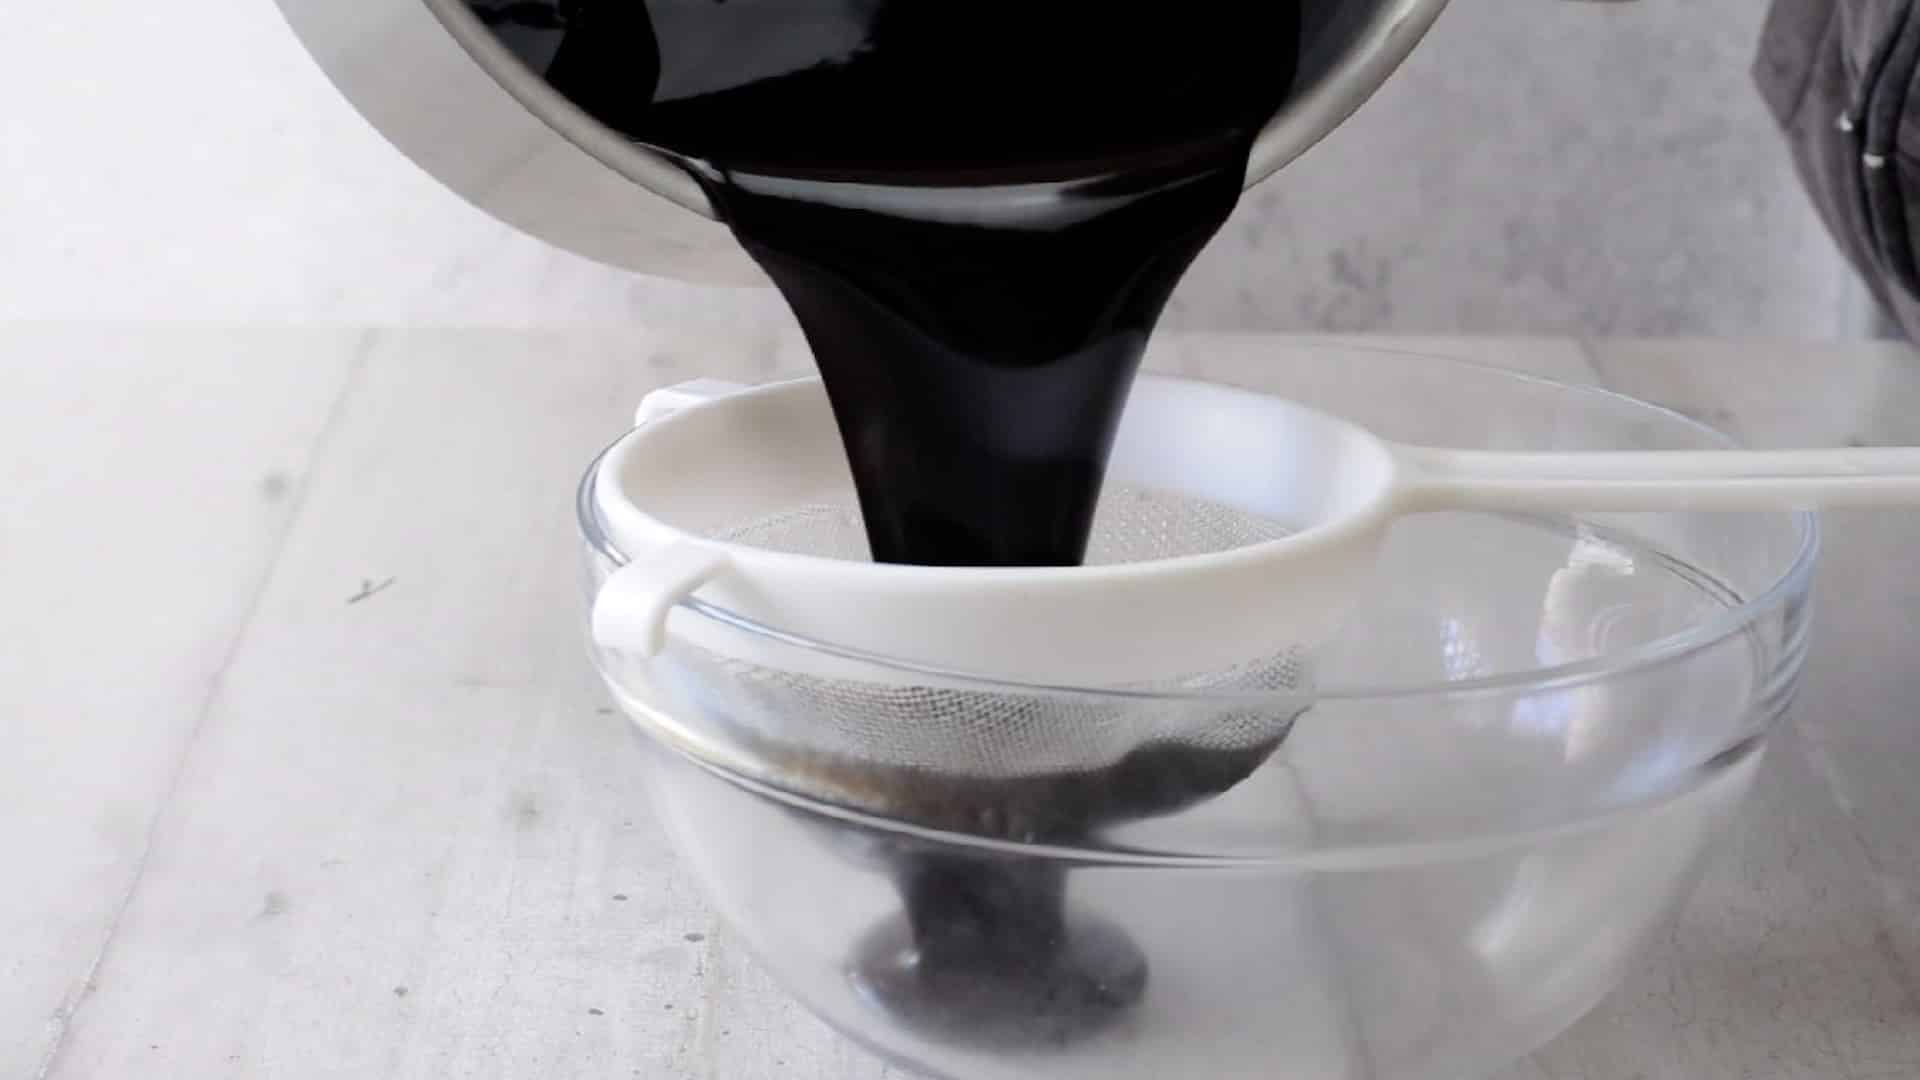
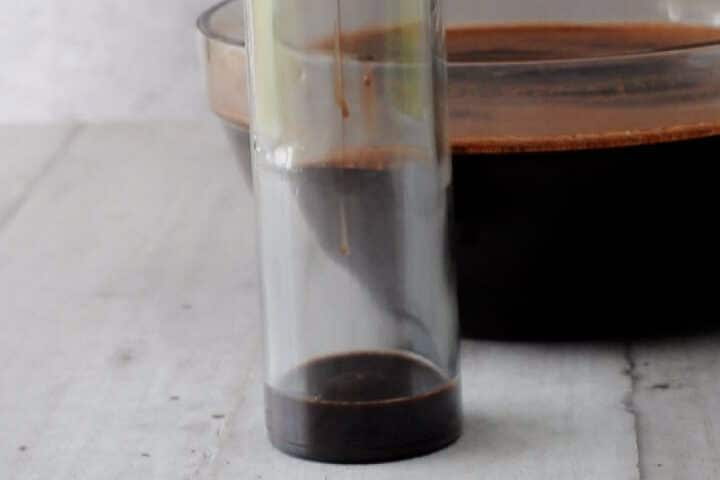
- Once the syrup is completely cold, filter it through a fine-mesh strainer to ensure it is smooth.
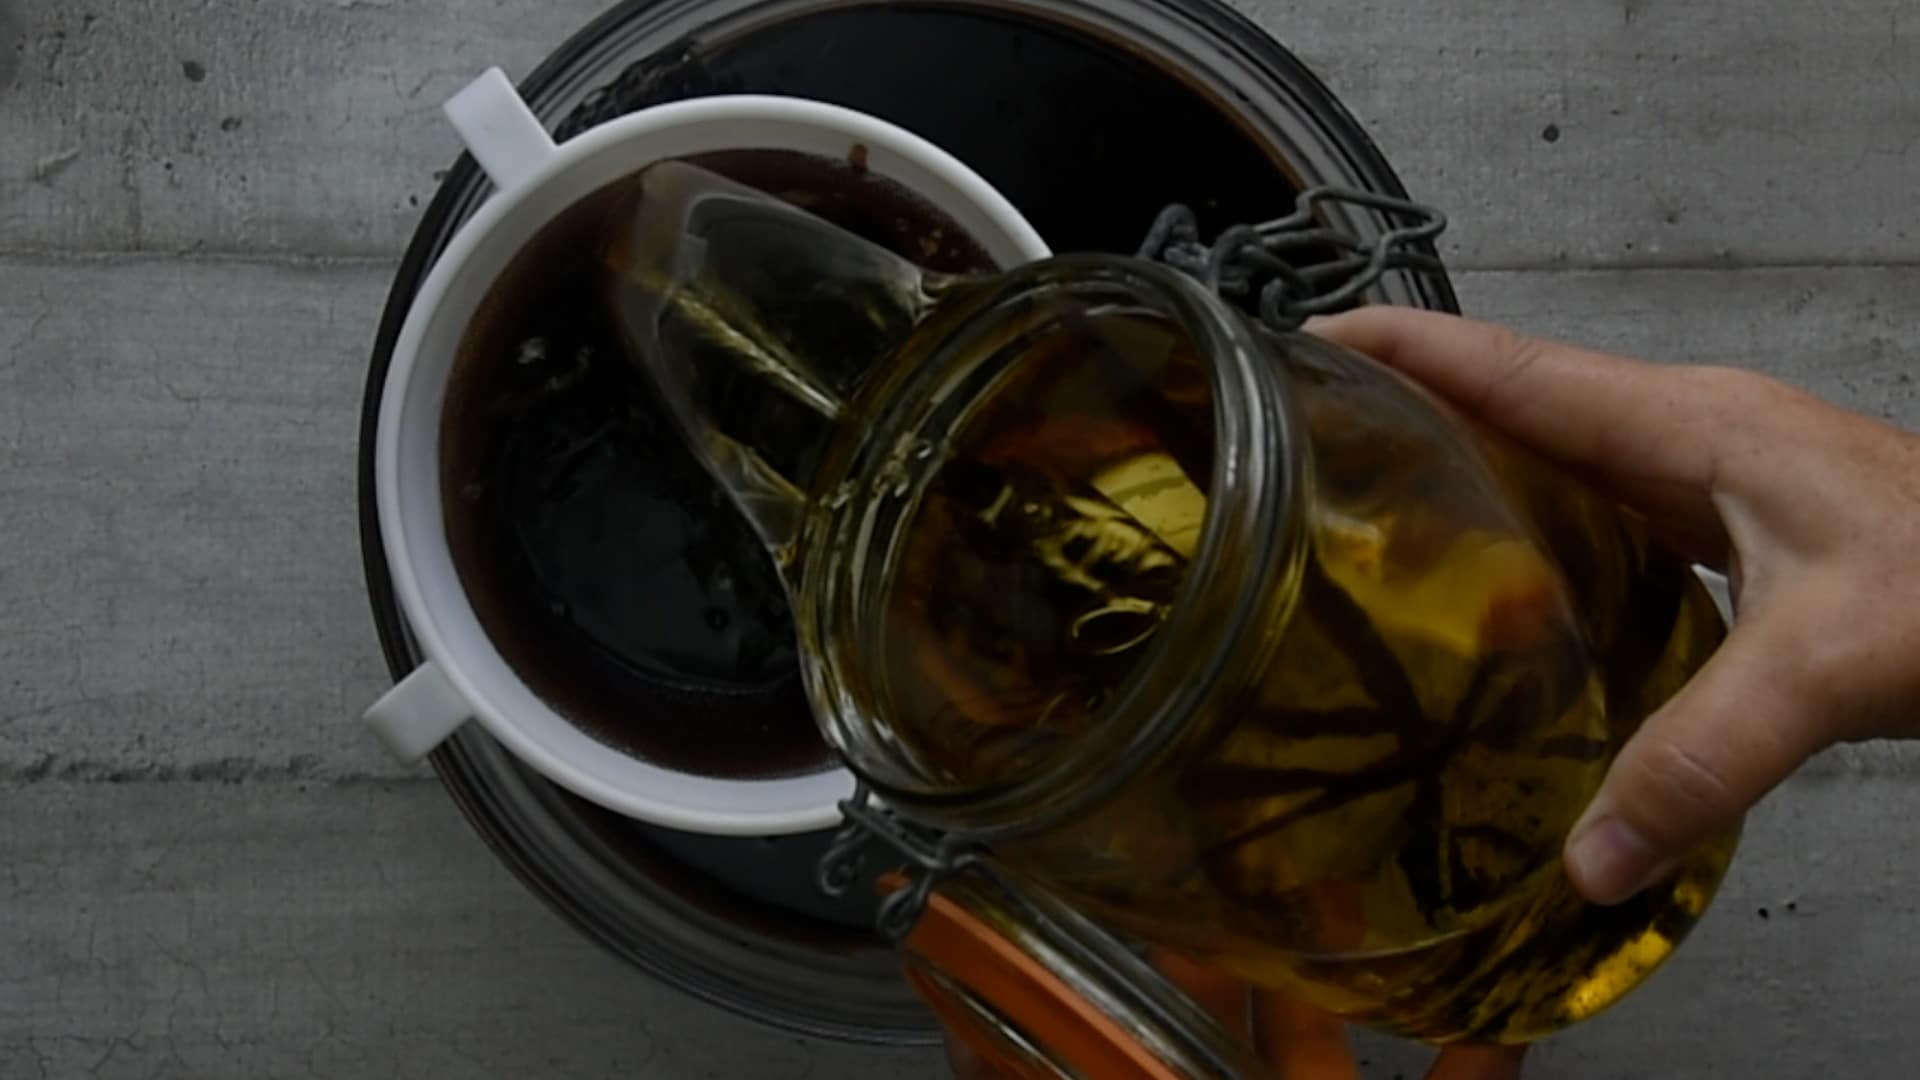
- Filter the vanilla-infused alcohol through a sieve directly into the chocolate syrup to remove the vanilla pod and seeds.
Note: This step is critical to ensure the dense chocolate syrup and the lighter alcohol bind together perfectly to create a creamy consistency.
- Stir the mixture vigorously for at least 10 minutes to ensure the dense chocolate syrup and the lighter alcohol bind together to create a creamy consistency.
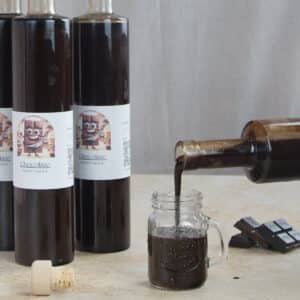
- Transfer the liqueur into glass bottles or large mason jars using a ladle and a funnel. Seal the bottles with a cork or a tight lid.
- Place the bottles in a cupboard and let them rest for another 30 days before drinking. This aging period is essential for the flavors to merge and the texture to thicken.

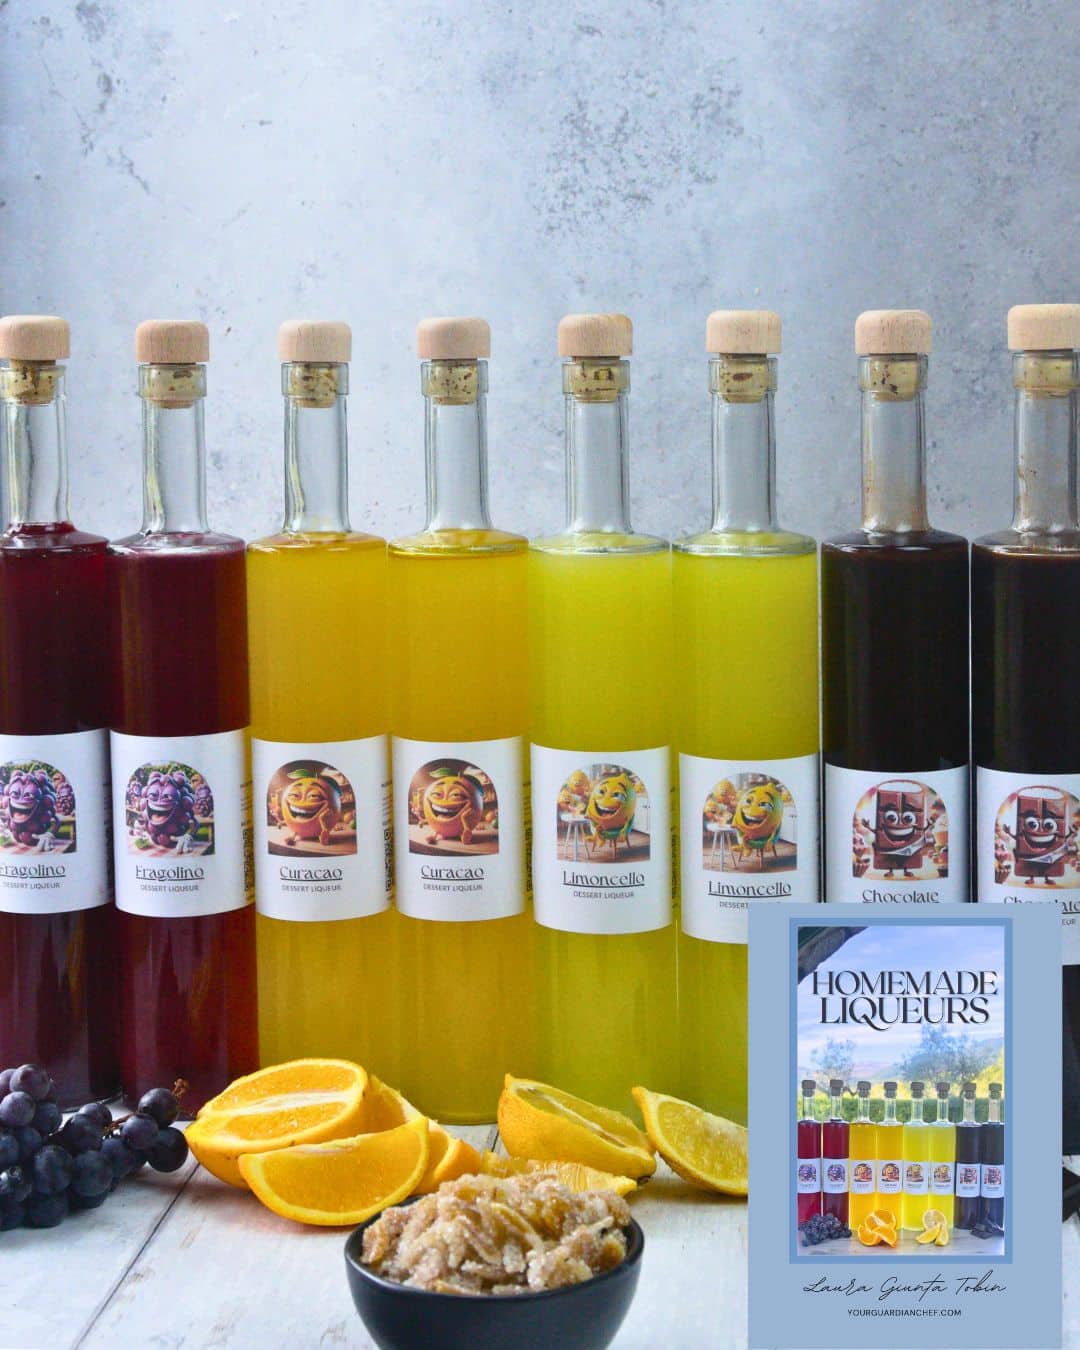
For a signature gift, add a professional label and a recipe book to print to your homemade liqueur.
- The Master's Collection Ebook: 11 recipes, including the "forbidden" Fragolino Wine - print it out and add it to the bottle to make the gift extra special.
- Professional Labels: Custom illustrations with Smart QR codes that link to the recipes, formatted for your region (USA, UK, Europe).
The complete bundle is $10.50. Choose your region:
Serving Suggestions
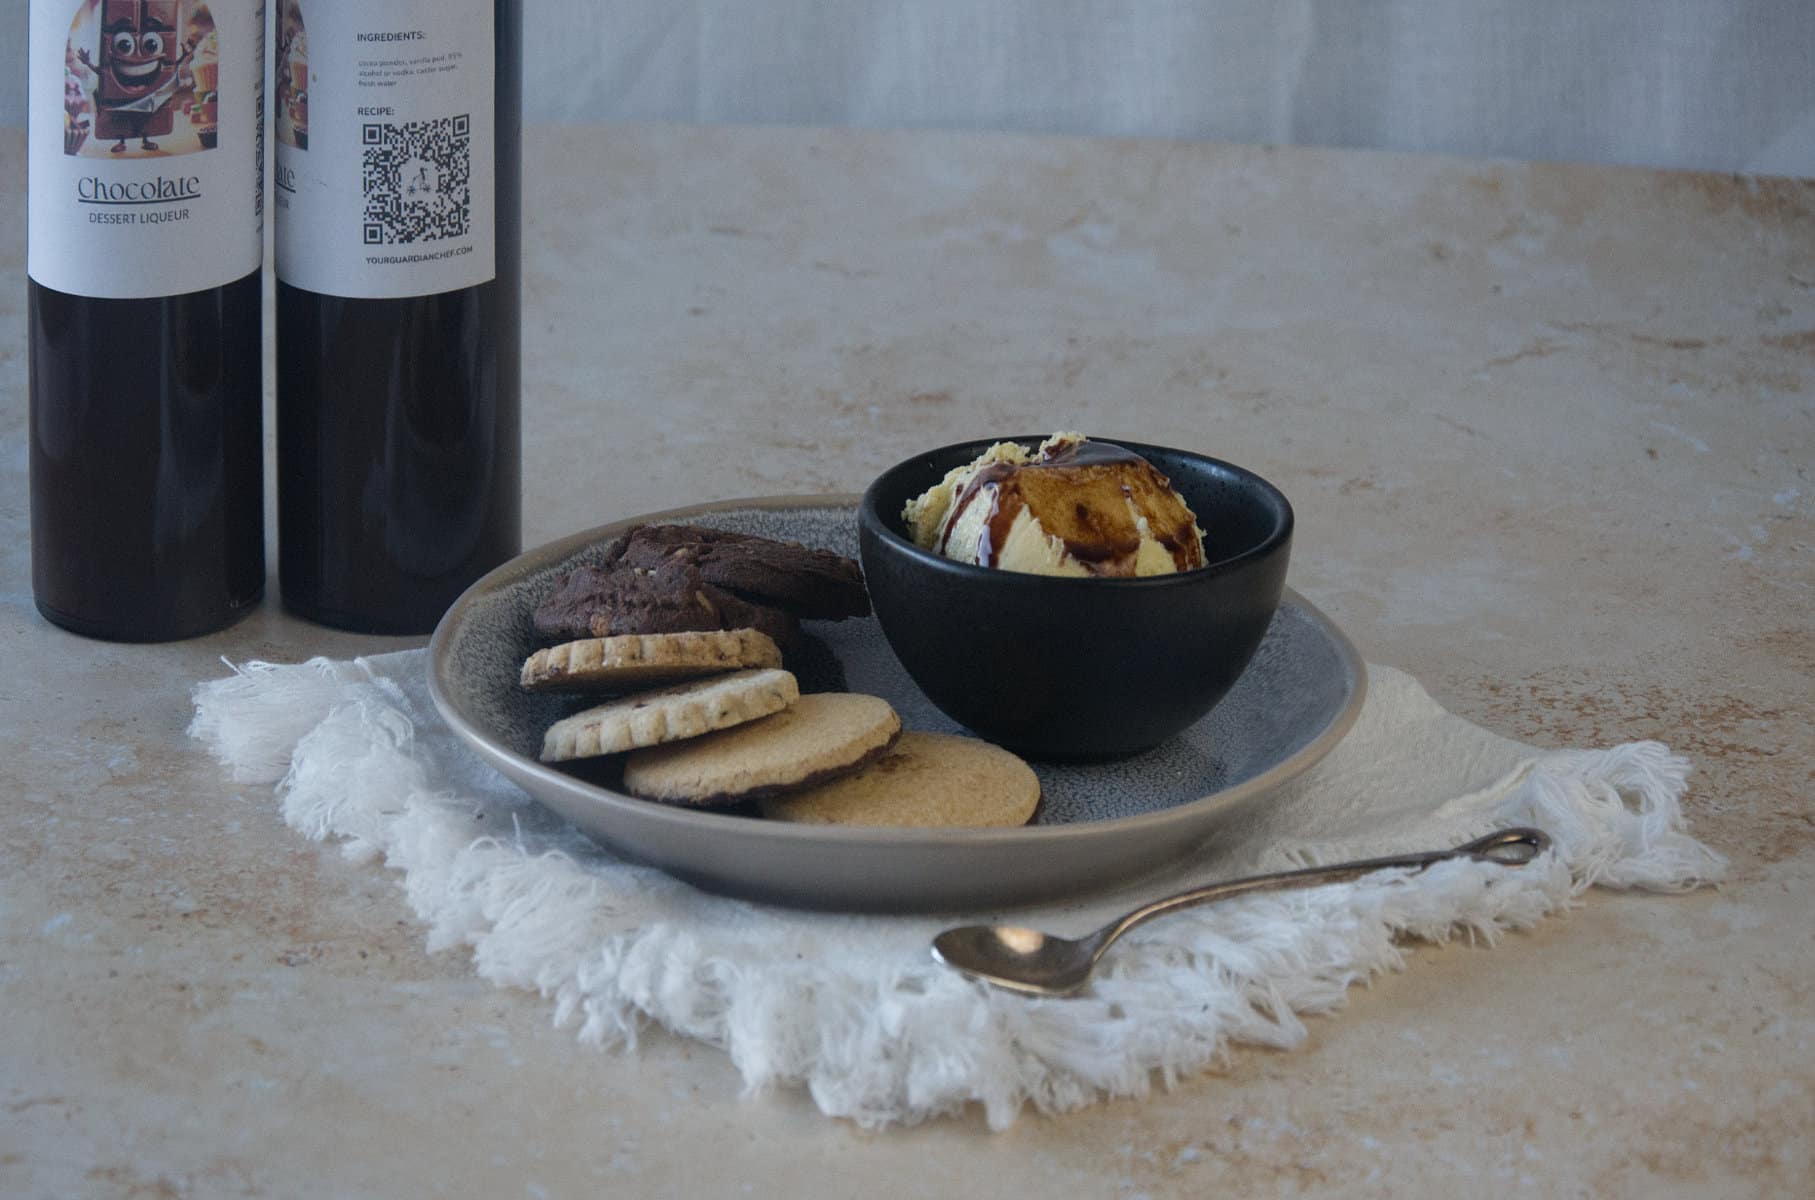
This liqueur is incredibly versatile. Because it is dairy-free and shelf-stable, you can keep a bottle on your bar cart for up to two years without worry.
Serve it straight in a small glass as a digestif with a cookie, or pour it over vanilla ice cream, a slice of Sponge Cake for a decadent dessert, or simply over fresh strawberries.
It also makes an excellent addition to coffee or hot chocolate on cold days.
Since it does not require refrigeration, it is the perfect edible gift for holidays; simply pour it into decorative vintage bottles
No Risk of Botulism
Since a reader asked, I would like to reassure everyone who has doubts: this liqueur is not at risk of botulism.
This recipe uses 95% Alcohol or vodka with 50% ethanol.
A scientific study proves that botulism growth is completely inhibited by an ethanol concentration of 6%.
Botulism typically concerns low-acid home canning, not fermentation or infusions of fruits in high-proof alcohol.
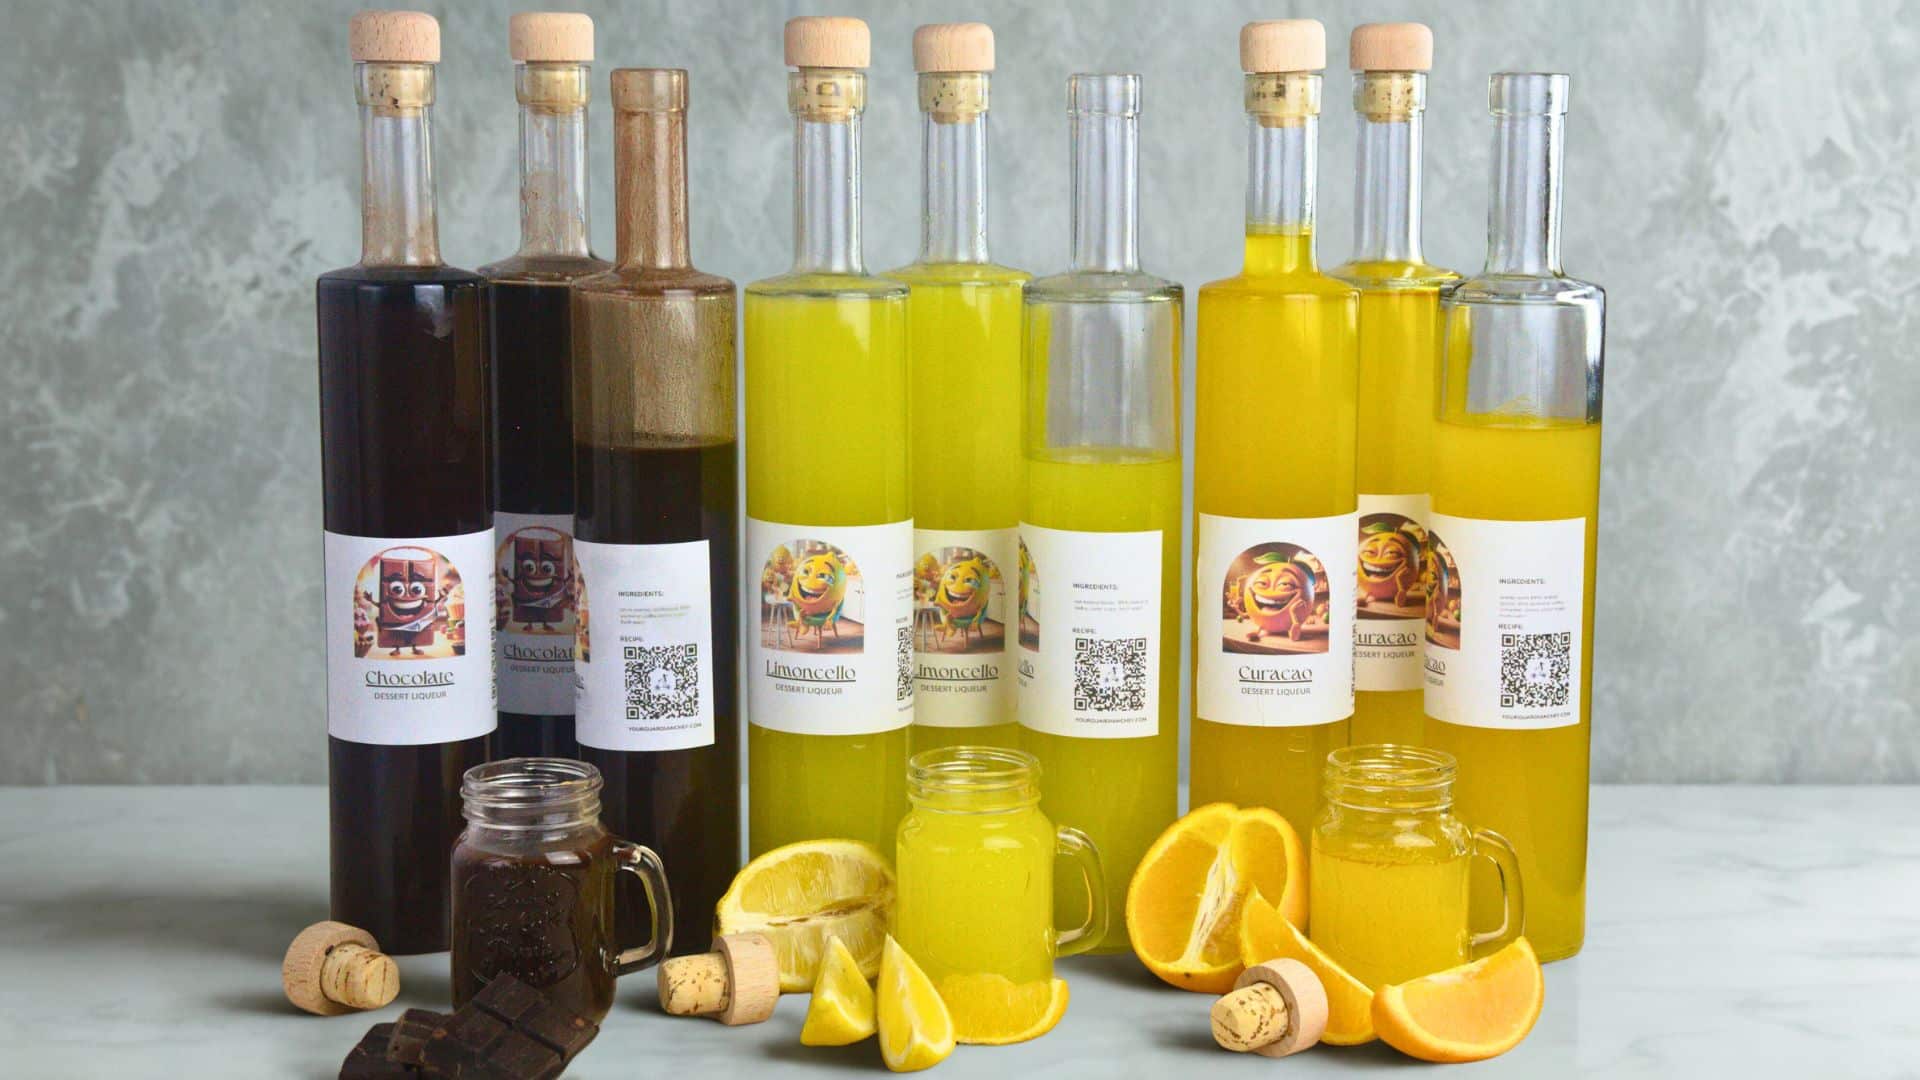
Turn Your Chocolate Liqueur into the Perfect Gift
There is no better gift than a bottle of homemade creamy liqueur made with your own hands.
Since you have put the effort into making an authentic Italian liqueur, why not make it look the part?
FAQ
Chocolate liquor is a thick, dark paste made from pure cocoa beans during the chocolate-making process. It contains no alcohol and is used as a base ingredient in many chocolate products. On the other hand, chocolate liqueur is a sweet alcoholic beverage that combines chocolate or cocoa with a base spirit and sweetener. Be sure not to confuse the two when following recipes.
If you don't have chocolate liqueur on hand, you can substitute it with a combination of unsweetened cocoa powder, sugar, and your choice of base spirit, such as vodka or rum. Just mix the cocoa powder and sugar with the spirit until the desired sweetness and thickness are achieved.
More homemade liqueur recipes
Homemade liqueurs are such a satisfying project; enjoy them after dinner with your partner on a special day, offer them at the end of a dinner party, or package them in fancy bottles as an edible gift. I already have some published, and more will come.
Just be ready when the fruits are in season to start your collection :
Check out the category: Homemade liquors
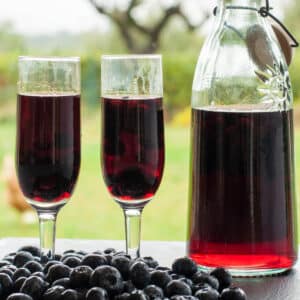
For those of you who like the thrill of the forbidden fruit, try to make Concord Grape Wine Fragolino.
Banned in Europe for commercial use, you can only try it if you make it for personal consumption.

More chocolate recipes
If you are making this homemade chocolate liqueur leave your comment below I would like to hear from you. You can find more delicious ideas if you FOLLOW ME on Facebook, YouTube, or sign up to my newsletter.
📋Creamy Homemade Chocolate Liqueur (Dairy-Free & Shelf-Stable)
Verified Culinary AuthorityVideo
Equipment
Ingredients
- 1 ½ cup unsweetened cocoa powder
- 2 sticks vanilla
- 2 cups 95% alcohol or vodka
- 4 cups caster sugar
- 3 cups fresh water
Instructions
Infuse the vanilla pods into the alcohol
- Cut the vanilla pod lengthwise and scrape the seeds into a glass jar. Add the empty pod to the jar as well.
- Pour the alcohol (or vodka) over the vanilla, seal the jar tightly, and let it infuse in a dark place for 30 days.
Making the chocolate syrup
- After the month has passed, prepare the syrup by placing the water and sugar in a large saucepan over medium heat. Use a large pan because the chocolate syrup will significantly increase in volume once it starts to boil.
- Stir until the sugar is fully dissolved, then gradually add the cocoa powder. Whisk constantly to ensure the cocoa melts completely into the syrup without forming lumps.
- Bring the mixture to a gentle simmer and let it cook for exactly 5 minutes.
- Remove the pan from the heat, cover it, and allow the syrup to cool down completely to room temperature.
Mixing it all together
- Once the syrup is completely cold, filter it through a fine-mesh strainer to ensure it is smooth.
- Filter the vanilla-infused alcohol through a sieve directly into the chocolate syrup to remove the vanilla pod and seeds .
- Stir the mixture vigorously for at least 10 minutes. This step is critical to ensure the dense chocolate syrup and the lighter alcohol bind together perfectly to create a creamy consistency.
- Transfer the liqueur into glass bottles or large mason jars using a ladle and a funnel. Seal the bottles with a cork or tight lid.
- Place the bottles in a cupboard and let them rest for another 30 days before drinking. This aging period is essential for the flavors to merge and the texture to thicken.
Notes
- Use good quality cocoa
- Do not replace vanilla pod with vanilla extract
- Use a large pan when you make the syrup to make sure it doesn't spill when you add the cocoa. You will be adding a lot of cocoa
- Once you combine the cocoa syrup with the alcohol you will have to mix for a long time. You may want to use an electric mixer.
- If you want to have a creamier liqueur use less water ( 2 ¼ cups - 500 ml) to make the syrup, however, it is then best to store it in a jar instead of a bottle.
- You can also use this chocolate alcohol drink over ice cream or in sponge cakes
Adrianne
Woot woot you had me at chocolate, I admit!! How good is this. It is like an art happening right on the screen in front of me. Love the back story and pics too for an authentic vibe. Will drink vicariously through the screen!
Laura
Thank you Adrianne, you couldn't describe it better and when you drink it the vibe will go right through you body
DAWN
Can I use 80 proof vodka because where I live they do not have the 95
Laura
Yes Dawn, you can
Adriana
Cheers! I am totally in love with this chocolate liquor so easy to put together. Insane! Great for gifting too, everyone loves it here.
Laura
thanks, it is a great gift
patty at spoonabilities
This looks so decadent and absolutely delicious. What an amazing treat. Wow!
Laura
Thank you, it is an amazing treat
Katie
Made this for the family and it was a hit!
Laura
I am so glad to hear
Alice | SkinnySpatula
That looks incredibly decadent and made me crave liqueur at 11 in the morning :))
Laura
...I know, sorry!
farmomeni
it looks amazing. but there's no vanilla pod where i live. any alternatives?!!!
Laura
Thank you, it is really nice. Why don't you try with some nuts, almonds for example. Can you find almonds?
Carol L deSousa
You can order the vanilla pods online.
Laura
Yes, you can
farmomeni
thanks for your prompt response. yeah i can find any kind of nuts here, but is it possible to infuse nuts?? is the process the same? like soaking almonds in alcohol?!
Laura
You can try, if you check out the recipe for Nocino, I have infused walnuts there but they were green and with the hull. Can you find fresh almonds?
farmomeni
unfortunately i cant, just raw almonds ! actually i've read the recipe for Nocino and i thought i could make it with raw almonds! 🙁 i guess i have to put off making chocolate liqueur, which is a pity!!! :((((
Laura
Then I would suggest make it by skipping the vanilla infusion. Go directly into making the chocolate syrup and add regular alcohol. As long as you use good quality cocoa you should be fine. For the Nocino you need a walnut tree. Good luck and let me know how it goes.
farmomeni
tnx a million, i surely will. 🙂
Laura
Bravo
Nancyb
Can this be used to make a Grasshopper Pie?
Laura
It is a creamy chocolate drink; you could pour it over.